Part 3: Basic Nmap Usage With Windows 10
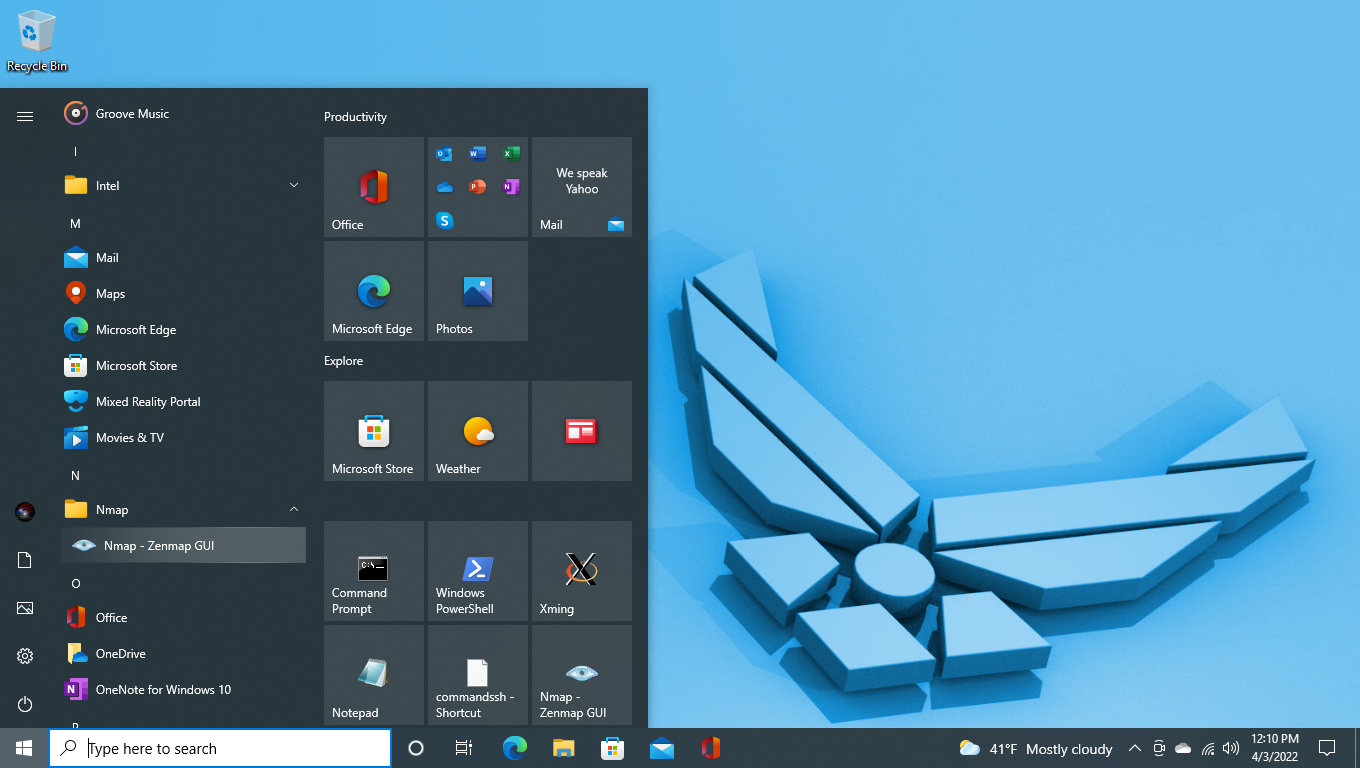
Nmap is available free for Windows 10/11 and includes the Zenmap GUI if you desire. From an administrative account download it from the link below and start the installer from the .zip file and accept the full installation and license terms. Defaults will install it correctly and it will show up in your all applications list ready to run. You can pin it to start like I have. See the link and the image below:
https://nmap.org/book/inst-windows.html
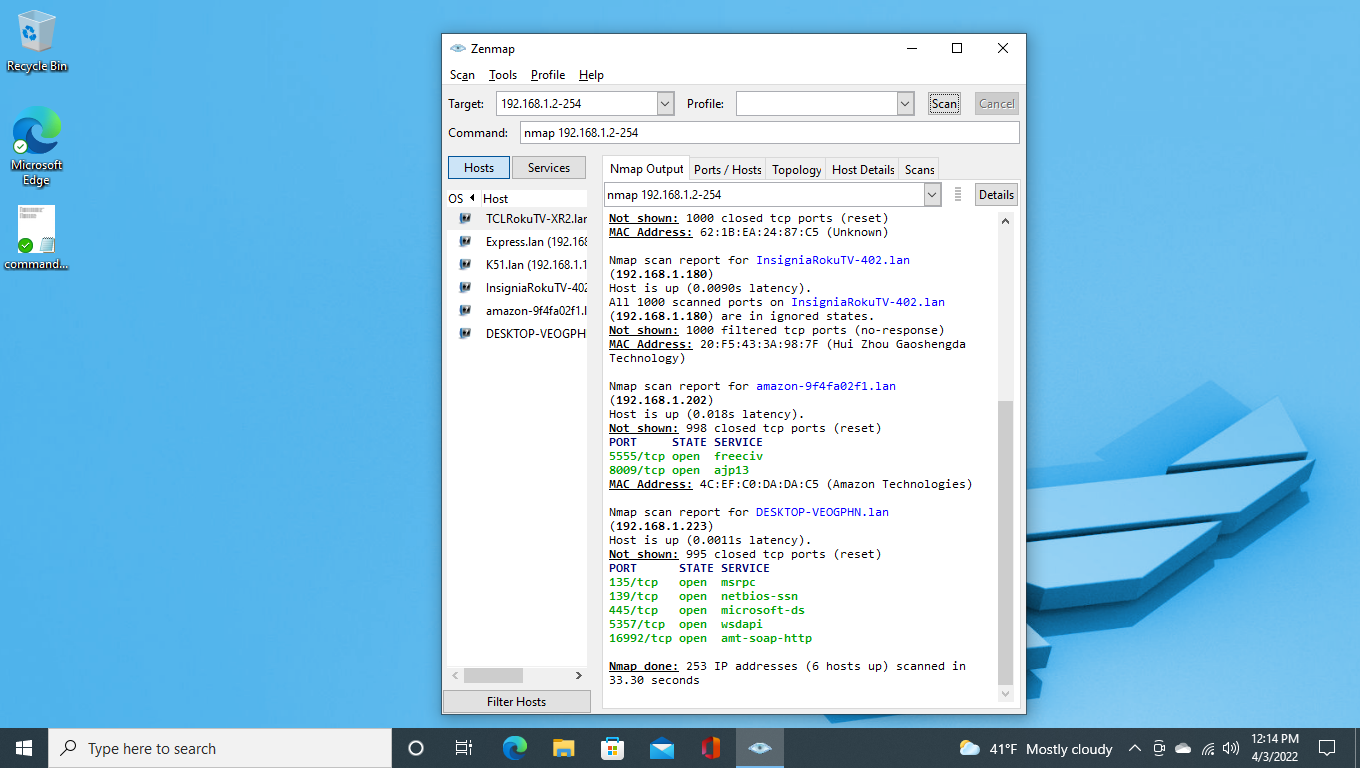
Click on the dropdown menu next to Profile and select Regular scan. The beginning of the command will appear in the Command box. Finish the command with your network address range i/e: 192.168.1.2-254. Click the Scan button to the right of the profile box and your scan will complete listing host names to the left and host information below the scan command box in the right panel. See images below:

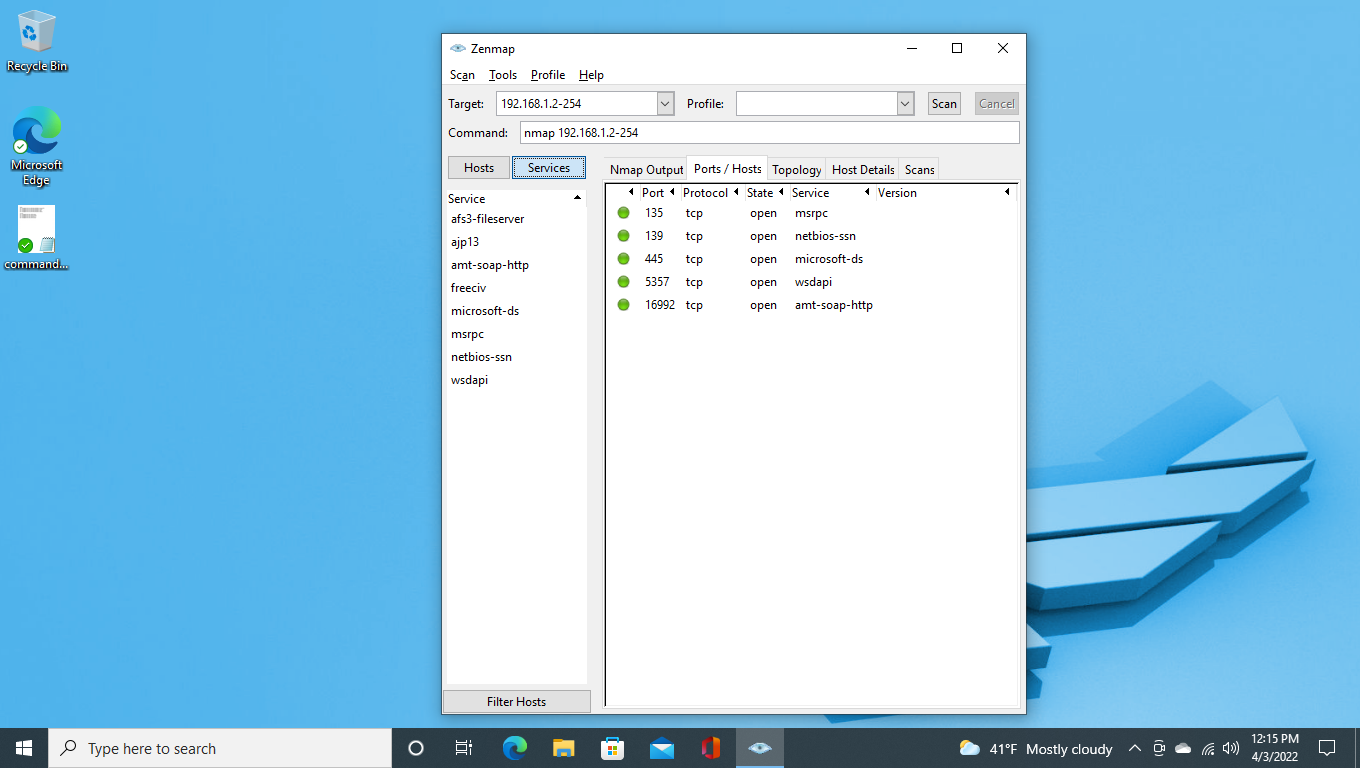
Clicking on the Services button will list services detected on the network.
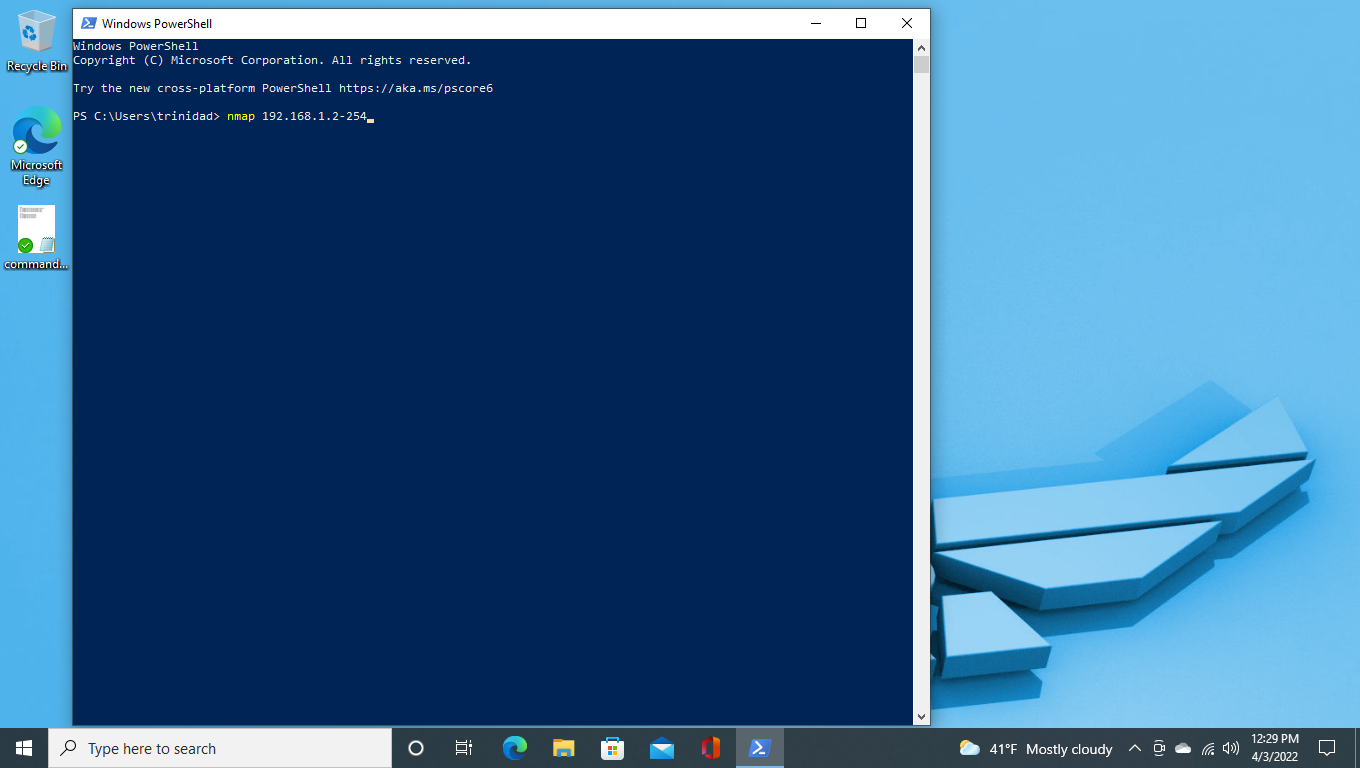
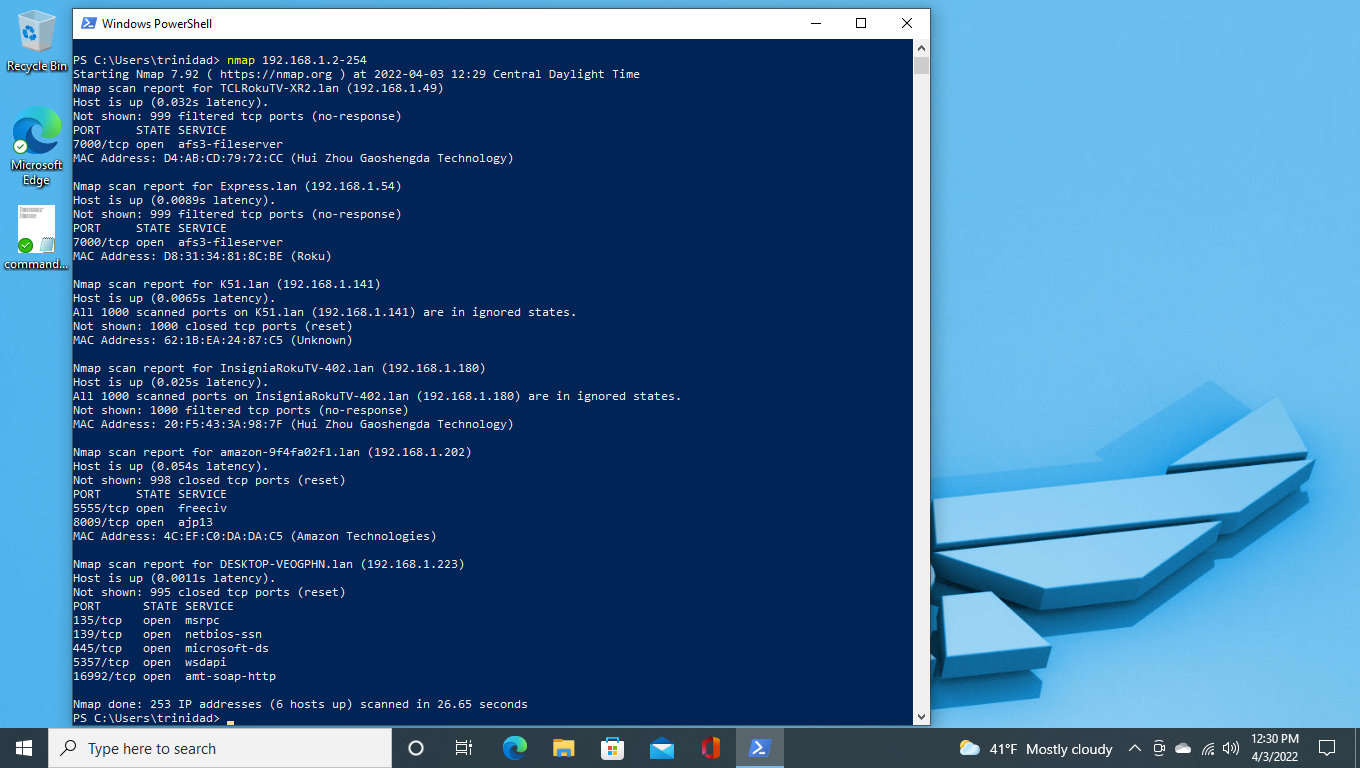
Many of nmap’s commands will work in powershell if you are logged in as an administrator. Scanning for hosts on your network with the command i/e: nmap 192.168.1.2-254 works perfectly. See images below:
Learning to use nmap to keep track of the hosts on your local network is one of the most proactive things you can do for your own network security, whether you are a Linux or Windows user. There are several applications for WIFI network scanning available for Windows 10, but I don’t recommend any of them. Nothing out there is as robust, stable and secure as nmap. Like a lot of good things from the Linux world that get compiled for Windows, it just works; without adware, without malware, without a paywall.
Part 4: Some Useful Linux Lite Network Utilities
Part 2: Basic Iftop Usage With Linux Lite
Part 1: Basic Nmap Usage With Linux Lite