
Build & Deploy A Web Server & Home Website Yourself
Part 2:
1) Introduction
So now that we have our server running, and a Debian 9 OS DE to work within, we can build a simple web page to replace the default Apache page on our server. We’re going to build a fairly decent looking one using only LibreOffice, gimp, and our screenshot tool. This little instructional will take you through the simple steps involved and we will then upload our page to our server. Our goal here is to use our Debian 9 OS to accomplish everything we need. We are being arbitrarily purist here to show how easy the process actually is.
2) Preparation
About all we need to locate in advance is a decent HD wallpaper with a resolution of 1900W x 1200H. There are many sites available to search for free images, so find one you like. Also you could look for custom buttons as well, though we will make our own to start with. We will also make a banner which can be a convenient thing to have for branding or titling your pages.
3) Make A Banner
Official Debian graphics are available on the web from the link below and we will use a silver Debian swirl with a transparent background in our banner.
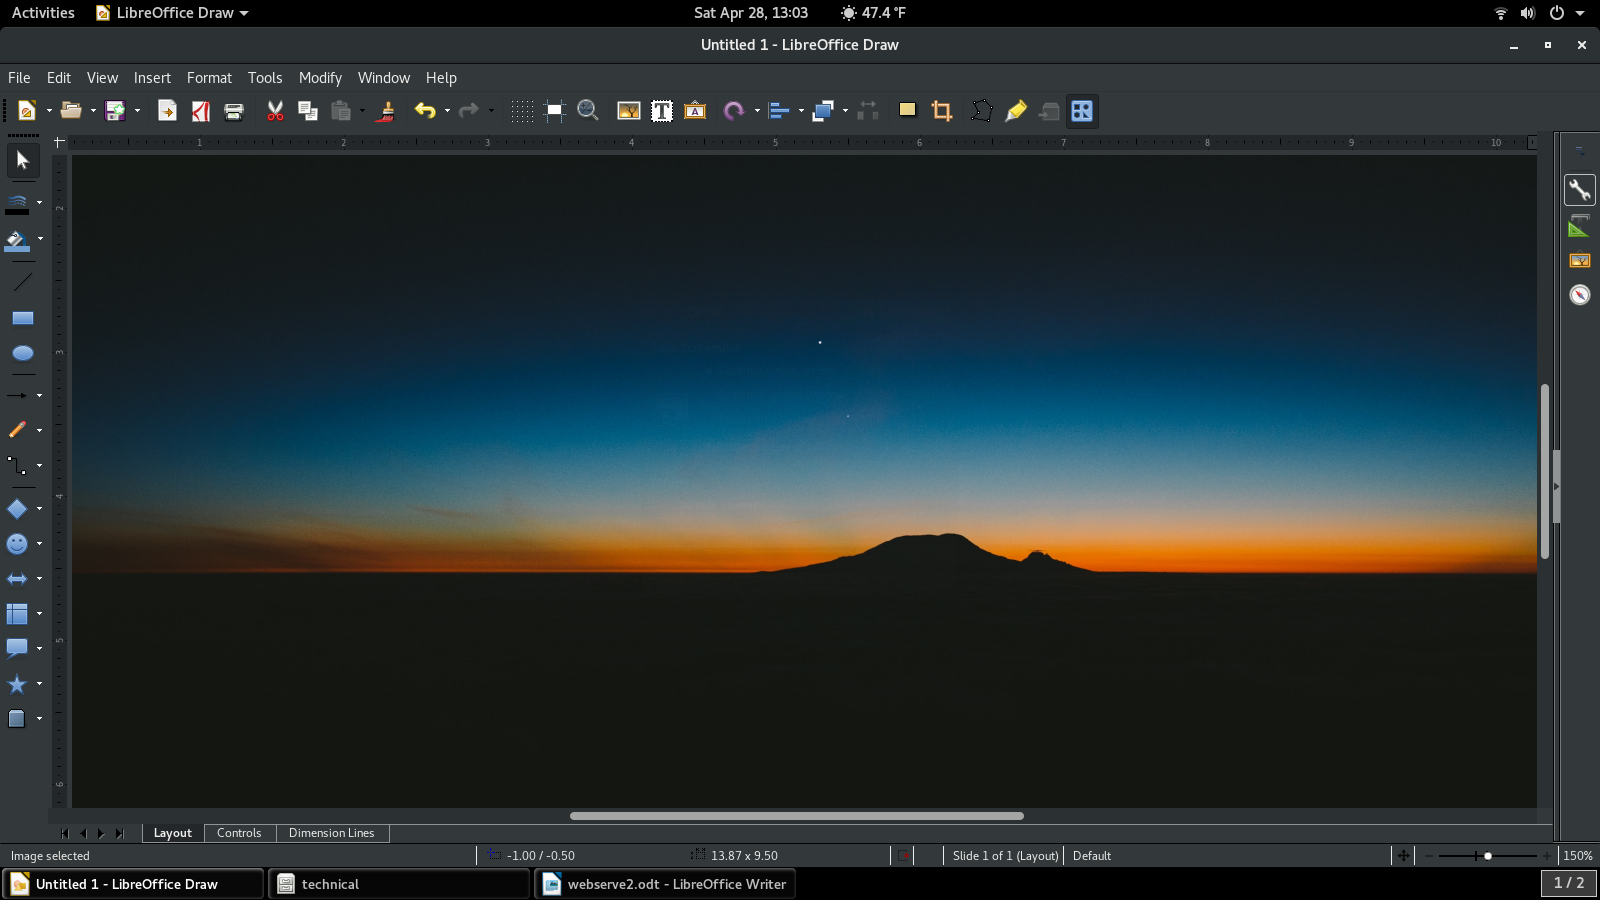
From the main menu >Office >LibreOffice. When LO opens up click >Draw Drawing. When LO draw opens click >Format in the upper window menu and select >Page Properties and then select >Landscape to turn our page the long way. What we intend to do here is cut a long thin rectangle out of an HD background and build a banner with it. Use something like the sunset image in the example below for nice color transitions. Click on >Insert in the upper window menu then >Image and select your image. Once your image loads stretch it as big as will fit on the page by dragging its corner. Next click >View then >Zoom and select 150% and center the sunset horizon.
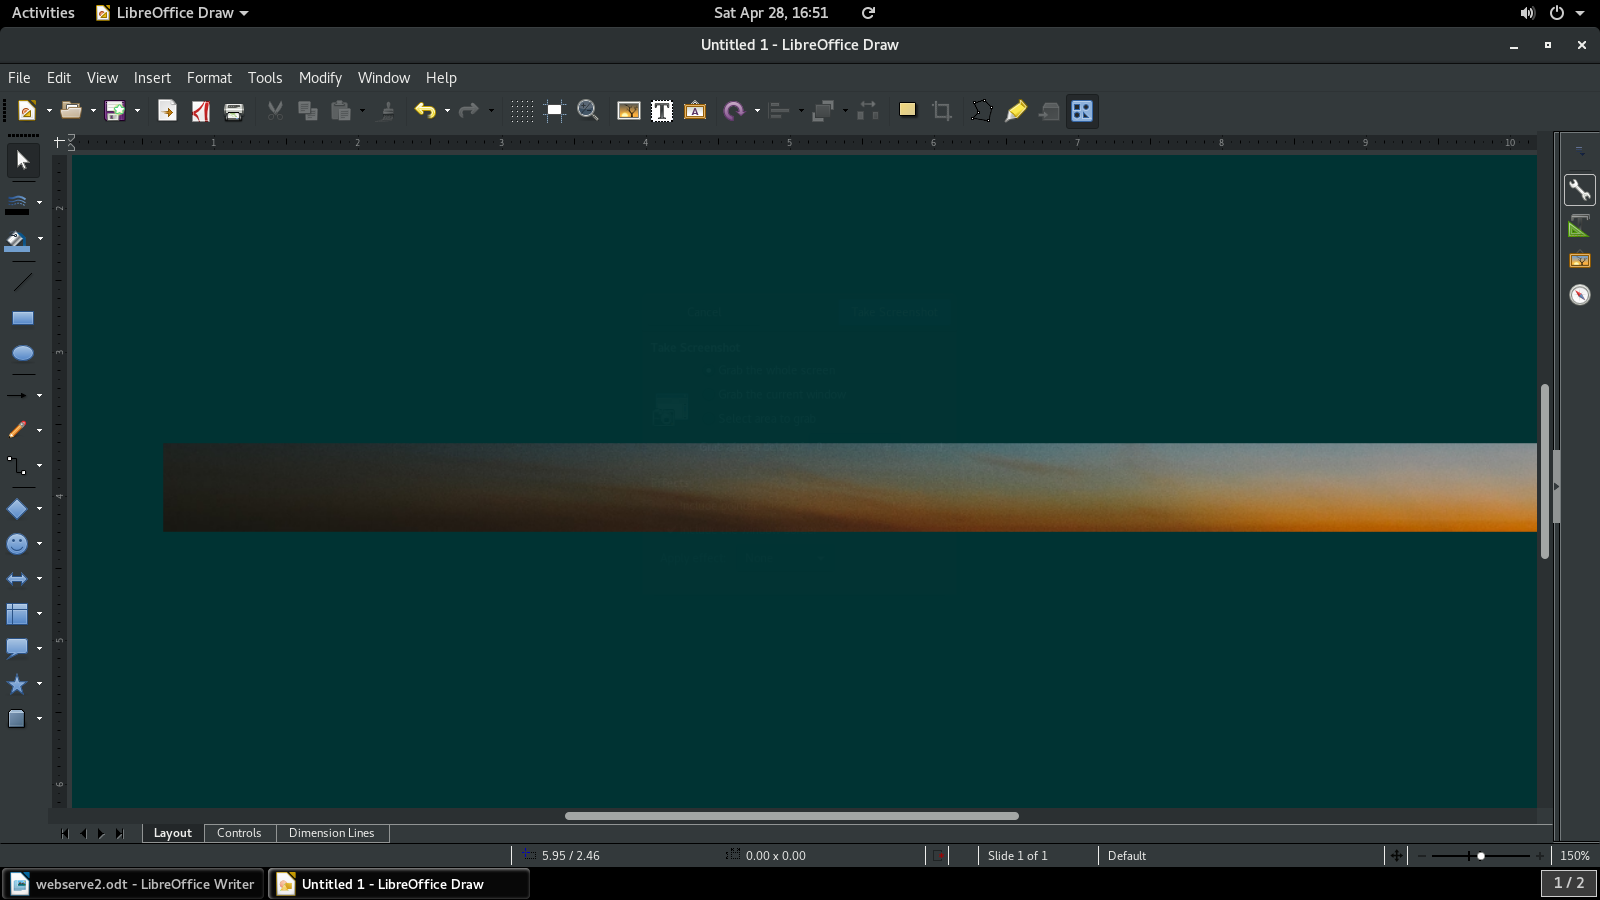
From the main menu select >Accessories >Screenshot and choose >Select an area to grab and drag out a long thin rectangle like the image below and save it.
![]()
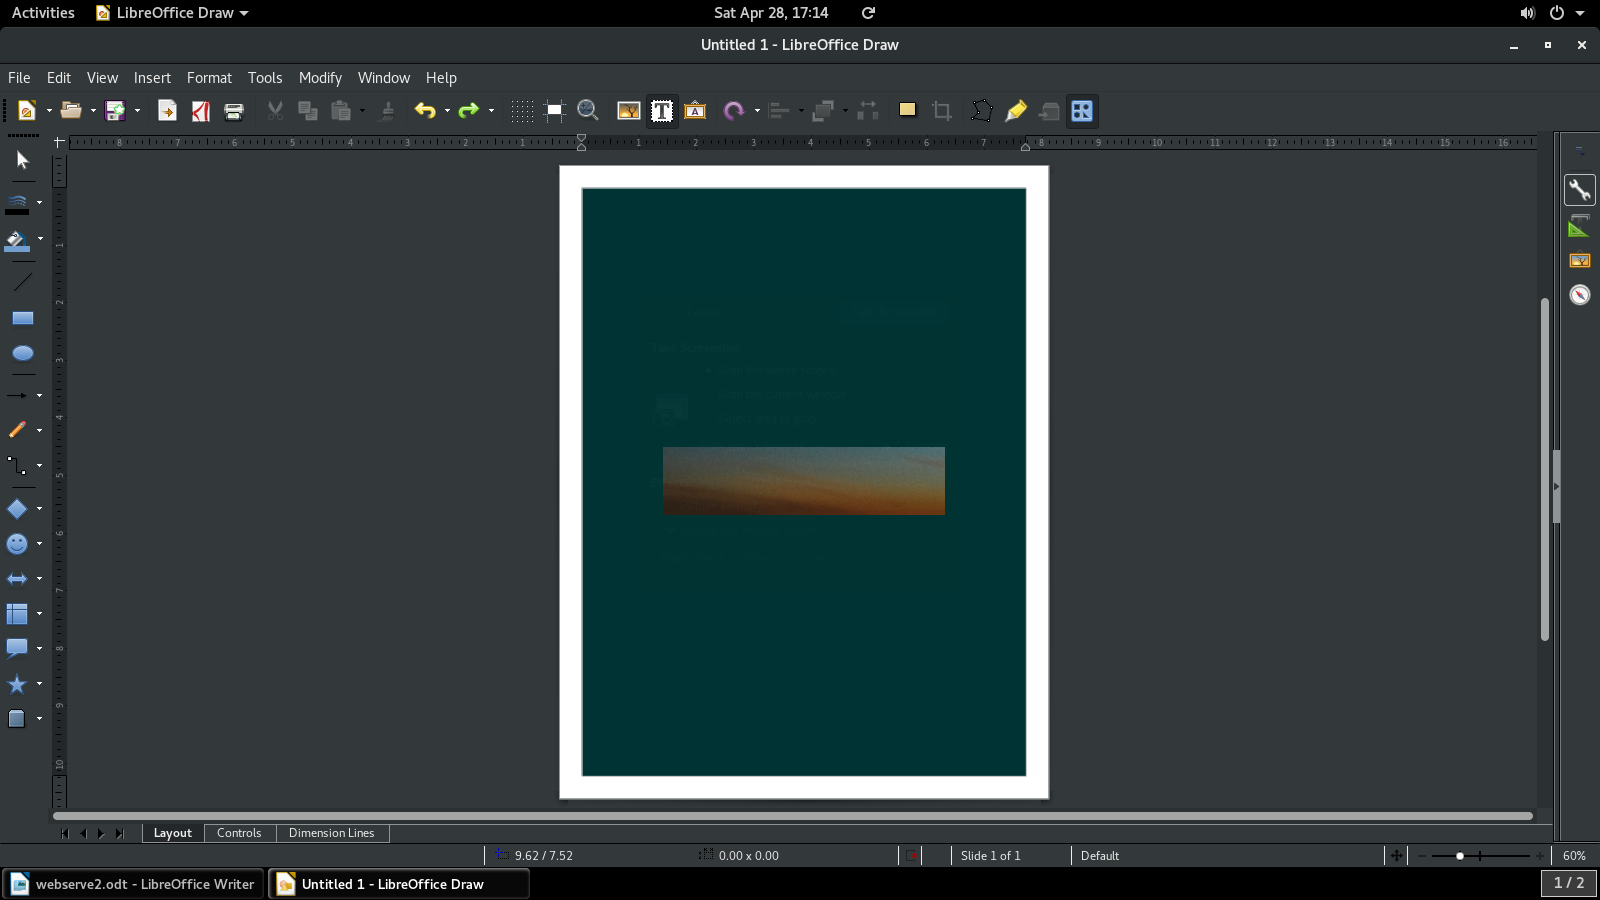
Close the file you are working in and don’t save changes. Open a new LO draw file, select >Format again then >Page Properties and choose >Landscape then choose >Color >Cyan 6 from the drop down menu in the Background tab, and then from >View choose 150%. Click >Insert then >Image and select the screenshot you just took. Position it (drag) like the image below.
Use >Insert >Image again to insert the Debian swirl we downloaded. Resize it by grabbing a corner and dragging inward. Then drag it to the left hand center of the page in the cyan background next to the long strip we cut from the sunset image. To add text click >Insert and then >Text Box and then click on the screenshot strip close to the left hand end and a cursor will appear there. Don’t worry about it being in perfect position as it can dragged as a box. Click >Format then >Character and select font color size and face and some effects, whatever looks good to you, and add your text. Once you are comfortable with all your text additions go to main menu >Accessories >Screenshot and select >Select and area to grab and select a long rectangular slice again, leaving the Debian swirl on its cyan background attached and a thin border of the cyan along the bottom of the banner. Save the file as 1banhm.png when prompted. Putting a 1 first in the file name will make things easier when we build the actual web site. The banner should look something like the one here below.
![]()
4) Make Some Buttons
The first thing we need to do to make our buttons is crop out a smaller piece from our original long rectangle screenshot of the sunset horizon. Use the same process. Open a LO draw file and insert the long rectangle we used for the banner background and take a screenshot of a shorter section of it and save it. Click >Edit >Undo insert image and then >Insert >Image and insert the new shorter image. Set the background color to cyan 6, and you should end up with something like the image below.
Add text using text box as before, and screenshot each image with a left hand and bottom cyan border saving each one as follows with sequential numbers i/e 2abmbut.png, 3galbut.png, 4contbut.png. and you should end up with button images like the ones below.


5) Build A Home Website
a) The first thing we need to do is create a file tree in our home folder that will match what we use on our server as far a hyperlinks and file names so that we can easily add new pages and links to our website without doing any actual work in root other than copying/replacing our files to our server’s document root file. Just open file manager and create a new folder in the home directory named 1webbuild. Open the new folder and create another folder inside it named images. Next locate our banner and button images and copy and paste them into the newly created images directory, along with any wallpaper image you intend to use for a page background.
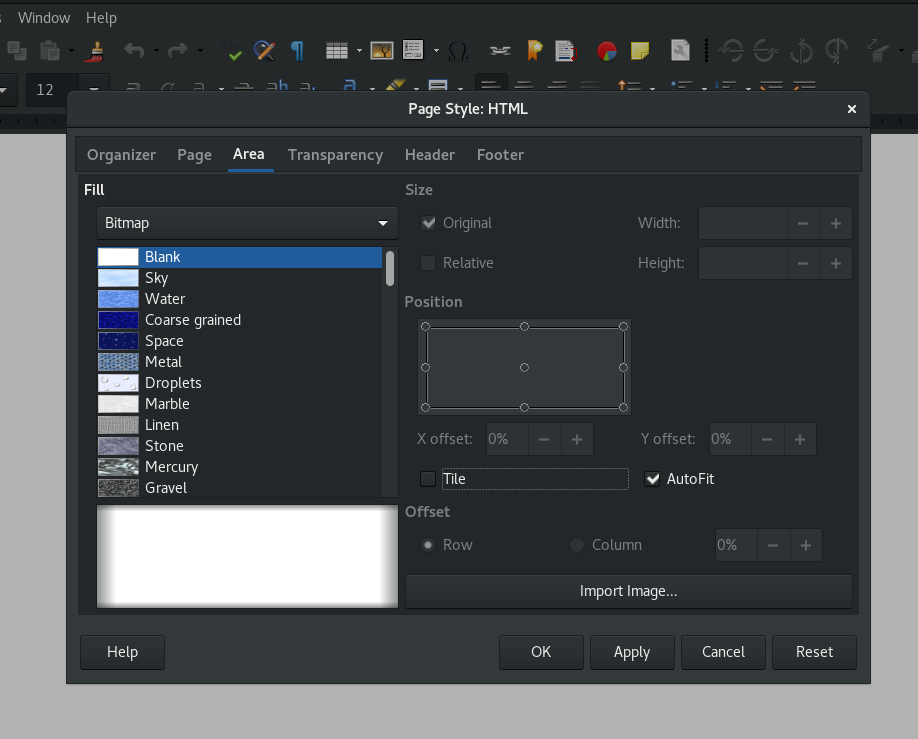
b) From main menu select >Office >LibreOffice. When it opens select >File >New >HTML Document. When it opens click >Format >Page and when the Page Style: HTML window opens click the >Area tab and from the drop down menu for Fill select >Bitmap. Uncheck the >Tile box, and check the Auto-Fit box and then click the >Import Image bar and locate your background image in your ~/1webbuild/images/ folder and import it. See image below of the menu.
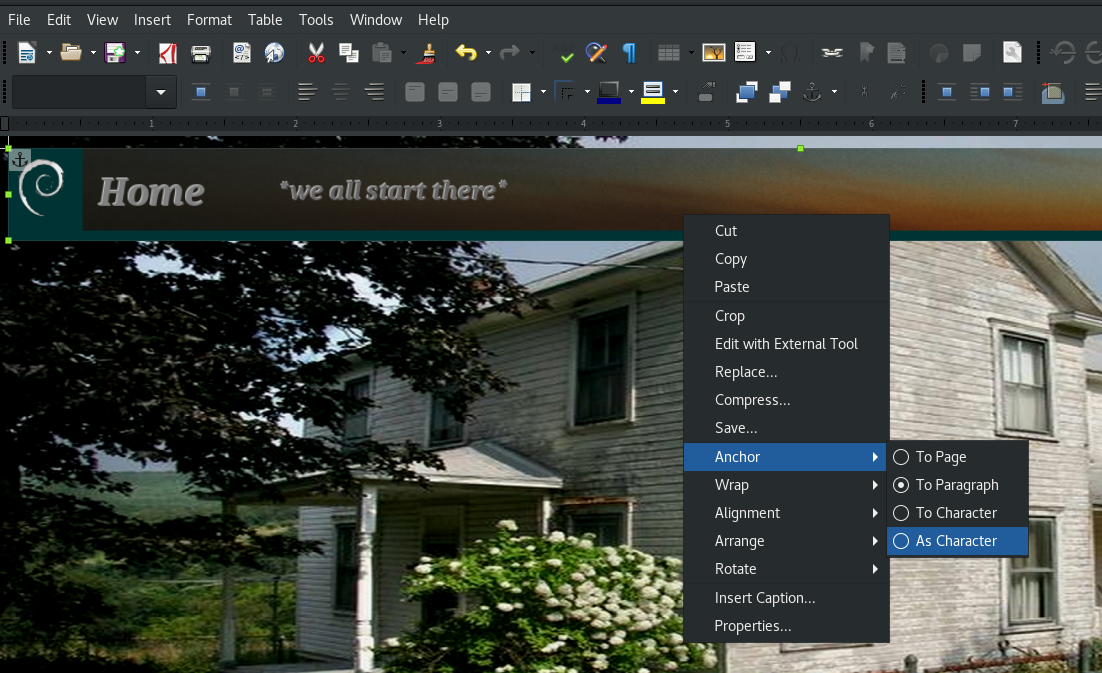
c) Click >Insert >Image and find your banner in ~/1webbuild/images/ and insert it. Right click on the banner and select >Anchor >As Character from the drop down menu. Our images are all .png files so we can resize them to suit by grabbing the green boxes of the image box around their edges once they are anchored as characters. Insert the button images in the same way anchoring each one >As Character before you add new ones. See image below.
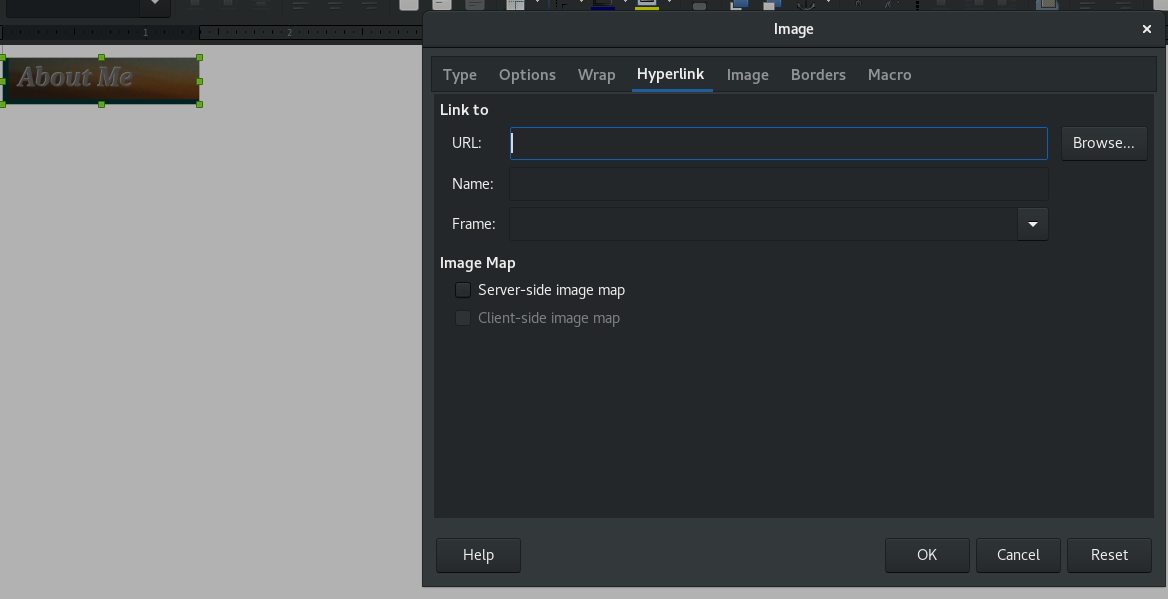
For the future we can now use these buttons as hyperlinks to new pages we create for our site. Simply right click on the image and select >Properties and a window like the example below will appear.
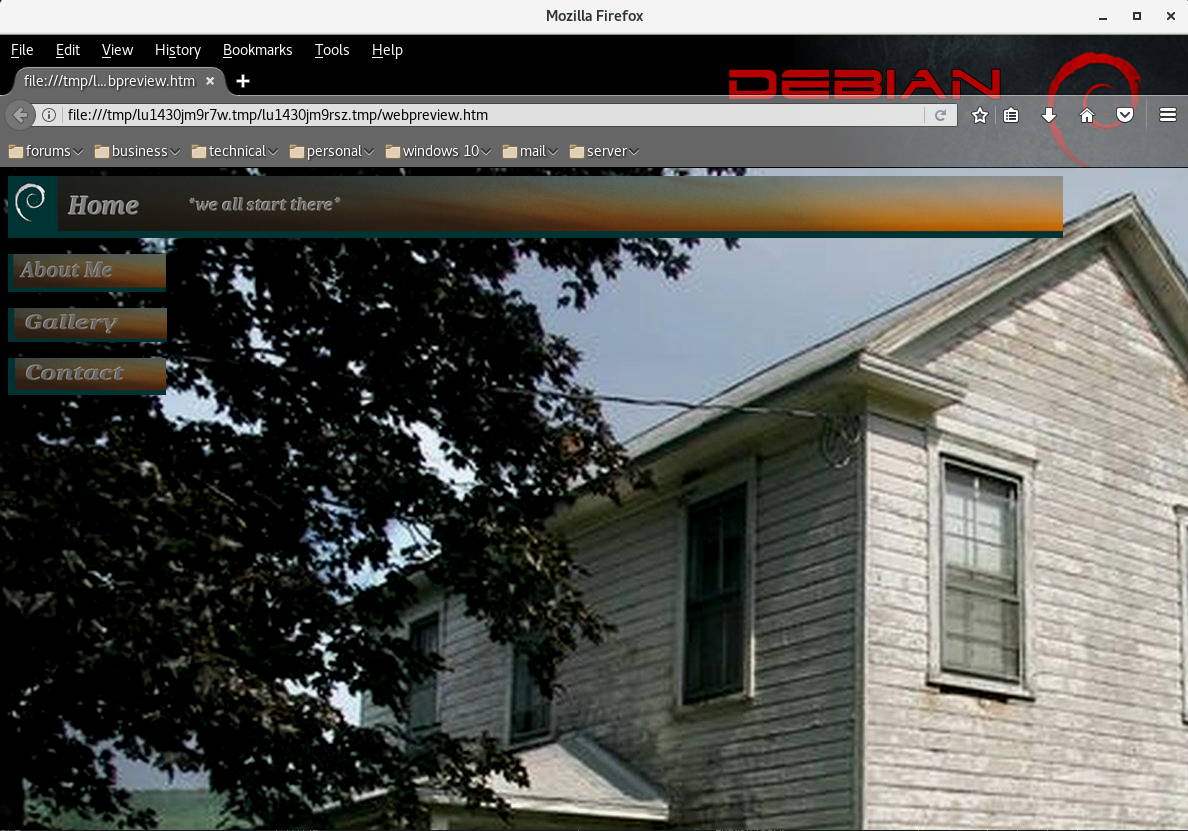
Once you have your images anchored and sized how you like them it’s best to check your page in your browser. Just click >File then >Preview in Browser to view your page how it will look when served. Should be something like the image below.
d) If you are satisfied with the result click >File >Save As and save the file as index.html to your ~/1webbuild folder. Close the file and LibreOffice. Find your file ~/1buildweb/index.html with file manager and right click on it and select >Open with Firefox ESR and check it again. If all is well we can now load it to our web server.
6) Install Our Site To Our Server
Now we need to logout and log back in as root. Once in root open file manager. Don’t be confused by the designation of Home Folder. You are viewing root’s home folder not your regular user’s home folder. Click the green up arrow and then open the >var folder, then the >www folder, then the >html folder. Right click on a blank space in the file manager window and select >Create New and >Folder and create a folder called images. Click the left hand pointing green arrow until you return to the screen with the >var folder you were just in. Select the >home folder, then the >yourusername folder then the >1buildweb folder, then the >images folder and copy the images there. Navigate back to the new images folder you just created and paste your images into that folder. Return to your >1buildweb folder and copy your index.html folder. Return to /var/www/html/ and delete the default Apache page and then paste your index.html file there. Leave your info.php file alone for now. Type localhost/index.html into your browser address bar and your new web site will appear. *If you are still ethernet connected to another computer via a shared connection you can connect to your server and your web site via that URL. Should be something like 10.42.43.0-254. Just type in the address and add index.html to view your new site on your running server from your other computer.
7) Summing Up
Well so far so good. Our server runs and we have a web site. In the next tutorial we’ll discuss how to use SFTP and GVFS from nautilus to view our web site over the Internet.