
SSH, SFTP, Samba & RDP Connections Windows 10 Build 1803-9 & Linux Lite Diamond 4.xx Series
Comments:
Here I will discuss setting up SSH, SFTP, Remmina, Samba & RDP connections between Windows 10 Build 1709 to 1803-9 and Linux Lite Diamond 4.xx series computers. I will cover the Windows 10 end thoroughly as far as securing the connections so a good portion of the discussion will be devoted to that subject. My purpose here is the same as always: to provide an accessible easily understood help resource on this subject for Linux Lite users coming from a Windows environment. It is my opinion that these types of connections are an important area of discussion for new Linux Lite users coming from a Windows environment. Both the Windows 10 and Linux Lite connection environments have changed/improved since my last discussion on this subject, and I will cover Windows 10 more in depth in this discussion. It is very understandable that new Linux Lite users coming from a Windows environment would desire to connect to their Windows 10 systems with the best Linux tools for such connections. It is also worth mentioning that it is probably more sensible to securely connect this way than dual boot with a Windows 10 OS on the same machine, or the same disk, even though that is an option many new users take. One of the advantages of Linux Lite is that it will run very fast and efficiently on many older 64bit machines with 4gig of RAM, something Windows 10 struggles mightily just to survive on. In any case I do not recommend that new users simply overwrite and discard their Windows 10 systems, though I would normally recommend it concerning Windows 7 and 8. In my opinion it is better to install Linux Lite on an adequate older machine and securely network with your Windows 10 machine, at least until you feel comfortable that Linux Lite suits your computing needs completely.
Listed below here are three links to information on this subject. I include the first two for reference as they are the Microsoft official links regarding SSH and RDP for Windows 10 builds 1709 to 1809. The third link is to my tutorial on working with SSH and RDP on older Windows 10 builds like the 1600 up to 1709 series, and the Windows 10 Home Edition. If you are on 1709 and up it is not necessary to read through the information in them as this tutorial will be more detailed and more visually accessible to new Linux Lite users.
https://docs.microsoft.com/en-us/windows-server/administration/openssh/openssh_overview
Power Networking To Windows 10 Build 1600 to 1709
This discussion will not be chronological in the sense that following through from beginning to end will lead you to a correct software configuration in Windows 10. There are too many important subjects to discuss and develop regarding security and proper setup in Windows 10, and because I intend to discuss both RDP and SSH connections I will deal with security and Windows 10 utilities first, and in the later discussions develop the installation instructions. This is intended to be a help resource for new Linux Lite users coming from Windows, and it has been my experience with Windows 10 users that most of them have no idea how to secure their systems on networks other than plugging in some free anti-virus or anti-malware software, most of which is not designed to address securing these kinds of power networking tools, and often they’re not even sure how to install SSH or RDP on their Windows 10 machines.
Section 1: Some Basic Windows 10 Security Measures Concerning Users & Passwords (This Page)
Section 2: Using Group Policy Editor To Configure Windows 10 Event Viewer To Audit Failed Logon Attempts
Section 3: Using netstat & ipconfig In Windows 10 To Monitor Connections
Section 4: Configuring Windows 10 Firewall To Limit Port Connections By IP Addresses
Section 5: Configuring AllowUser(s) Using sshd_config In Windows 10
Section 6: Configuring Samba In Linux Lite 4.x & Connecting To Window 10
Section 7: Setting Up Connection Bookmarks For Samba & SFTP In Thunar On Linux Lite 4.xx
Section 8: Installing Open SSH/SFTP Server In Windows 10 & Connecting From Linux Lite 4.xx
Section 9: Enabling & Configuring RDP In Windows 10 & Connecting From Linux Lite 4.xx
1) Some Basic Windows 10 Security Measures Concerning Users & Passwords
With Windows 10 it is important to first discuss good basic security for your system. An area that a lot of users inadvertently get into trouble with is configuring users on their machines. How users are configured can expose a networked Windows system to errors and exploitation in some cases.
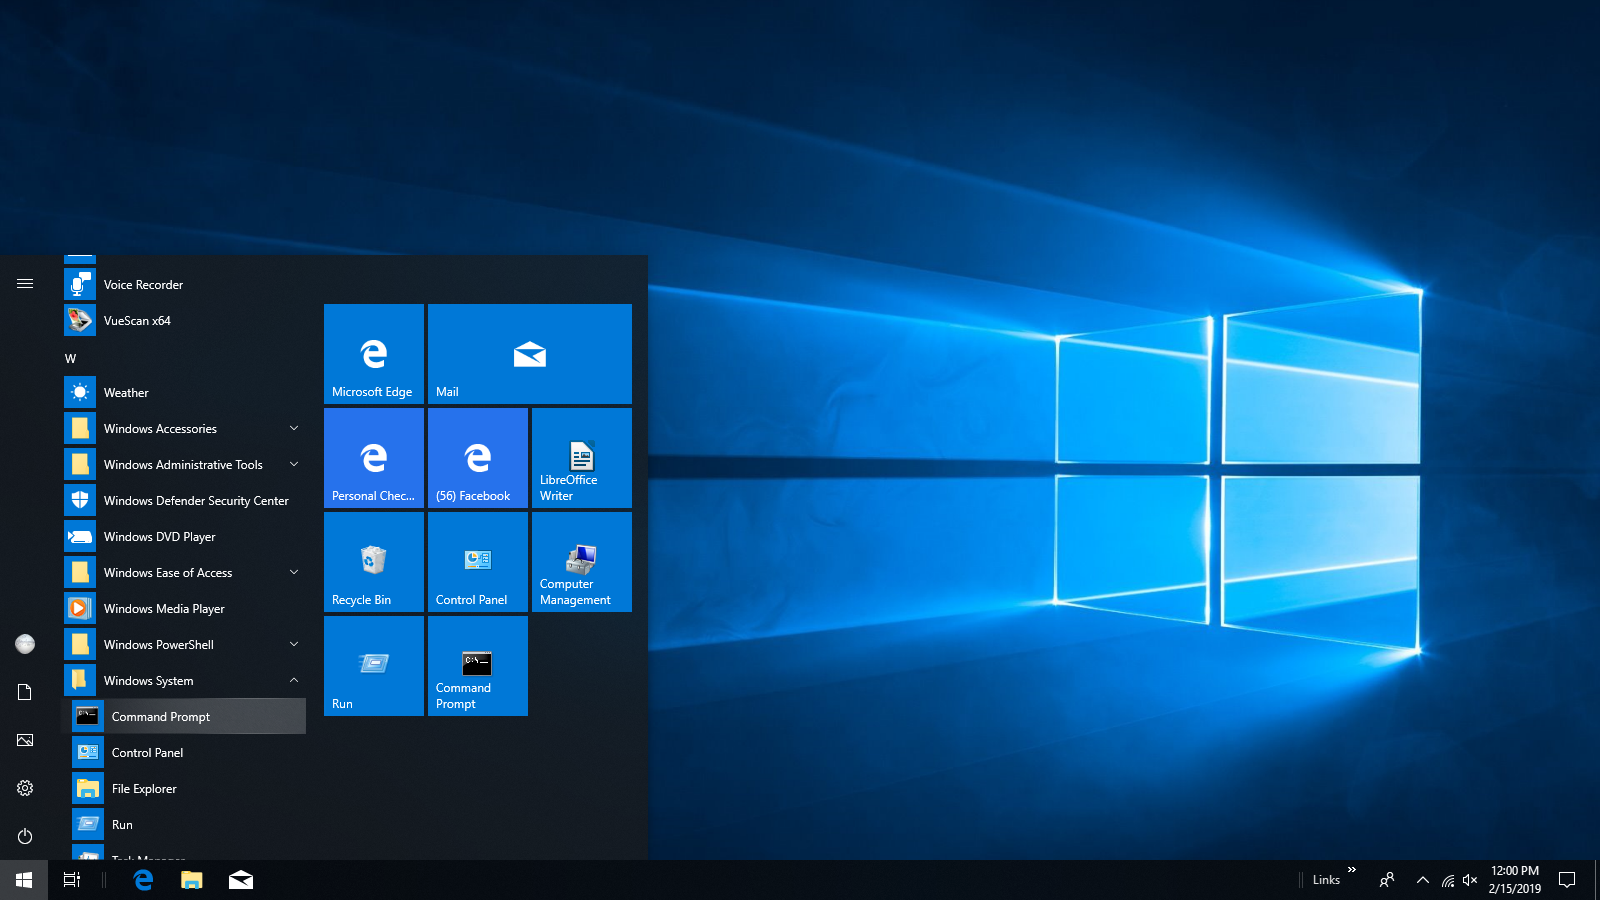
I’m going to use the Windows 10 CLI first here because it’s a great thing for new users to understand how to do, and it is the easiest, fastest and most convenient way to deal with users and passwords on the Windows system. Any changes made from the CLI that have to do with users and passwords must be done from an elevated command prompt, in some ways like sudo, or root in Linux. The easiest way to get to an elevated command prompt in Windows 10 is to hold down the Shift and Control key together, and locate the command prompt and click on it and open it while continuing to hold the keys down until it opens up. You must be logged into Windows with an account that has administrator privileges first, usually the user name you picked during installation. See image below:
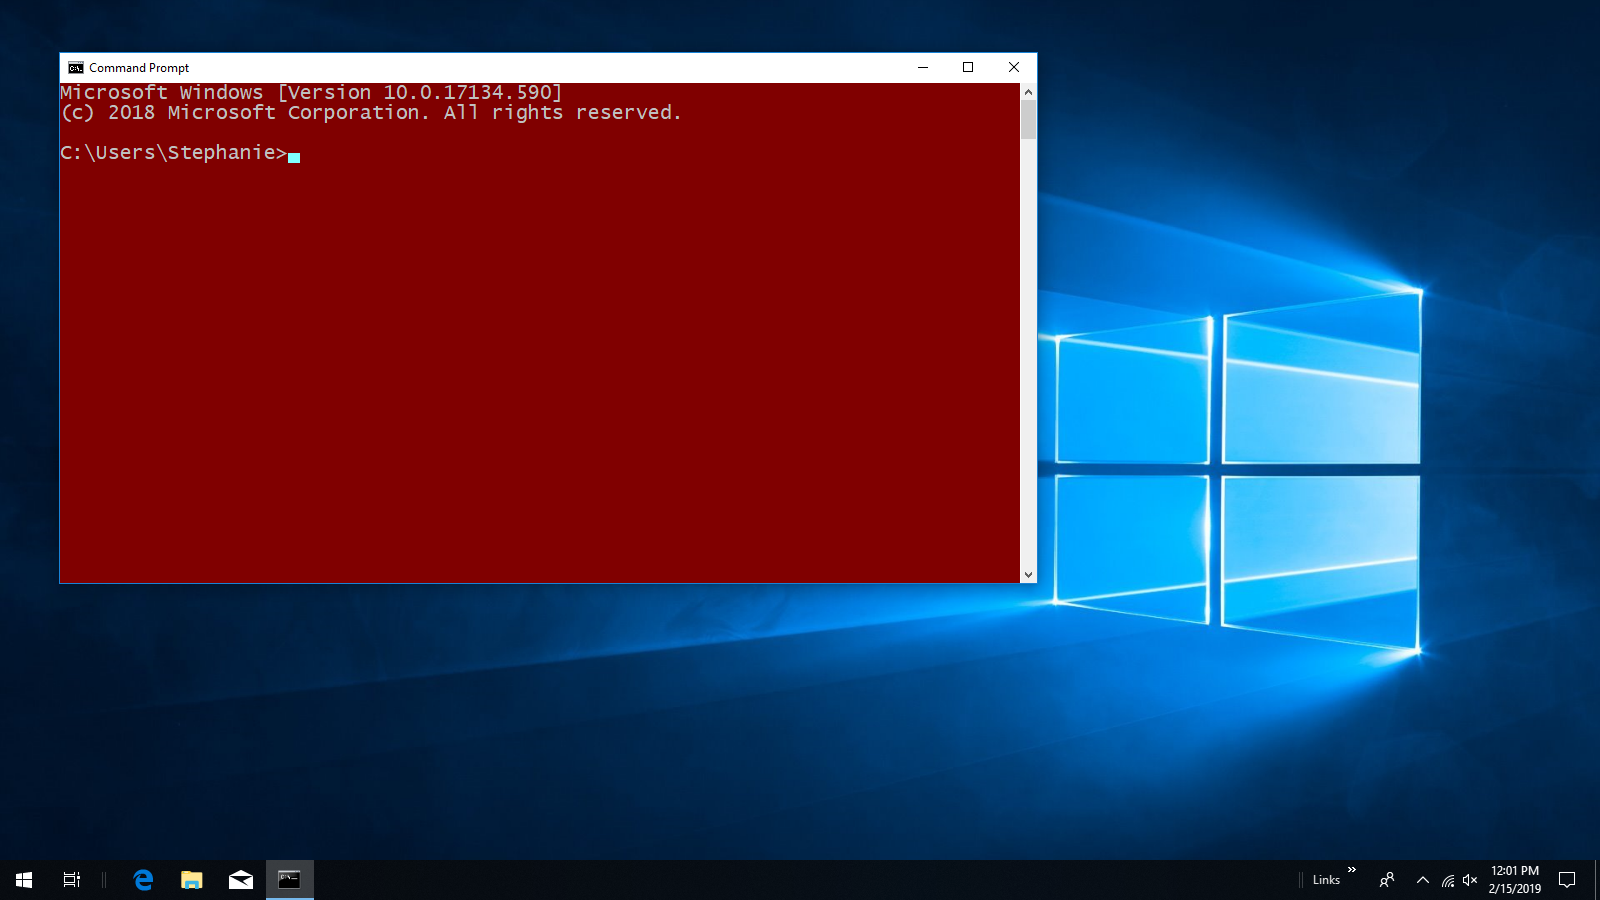
Below is an image of an open Windows 10 CLI non-elevated prompt. Yours will probably be a black background with white text as that is the default (not red like the example I am using here for visibility).
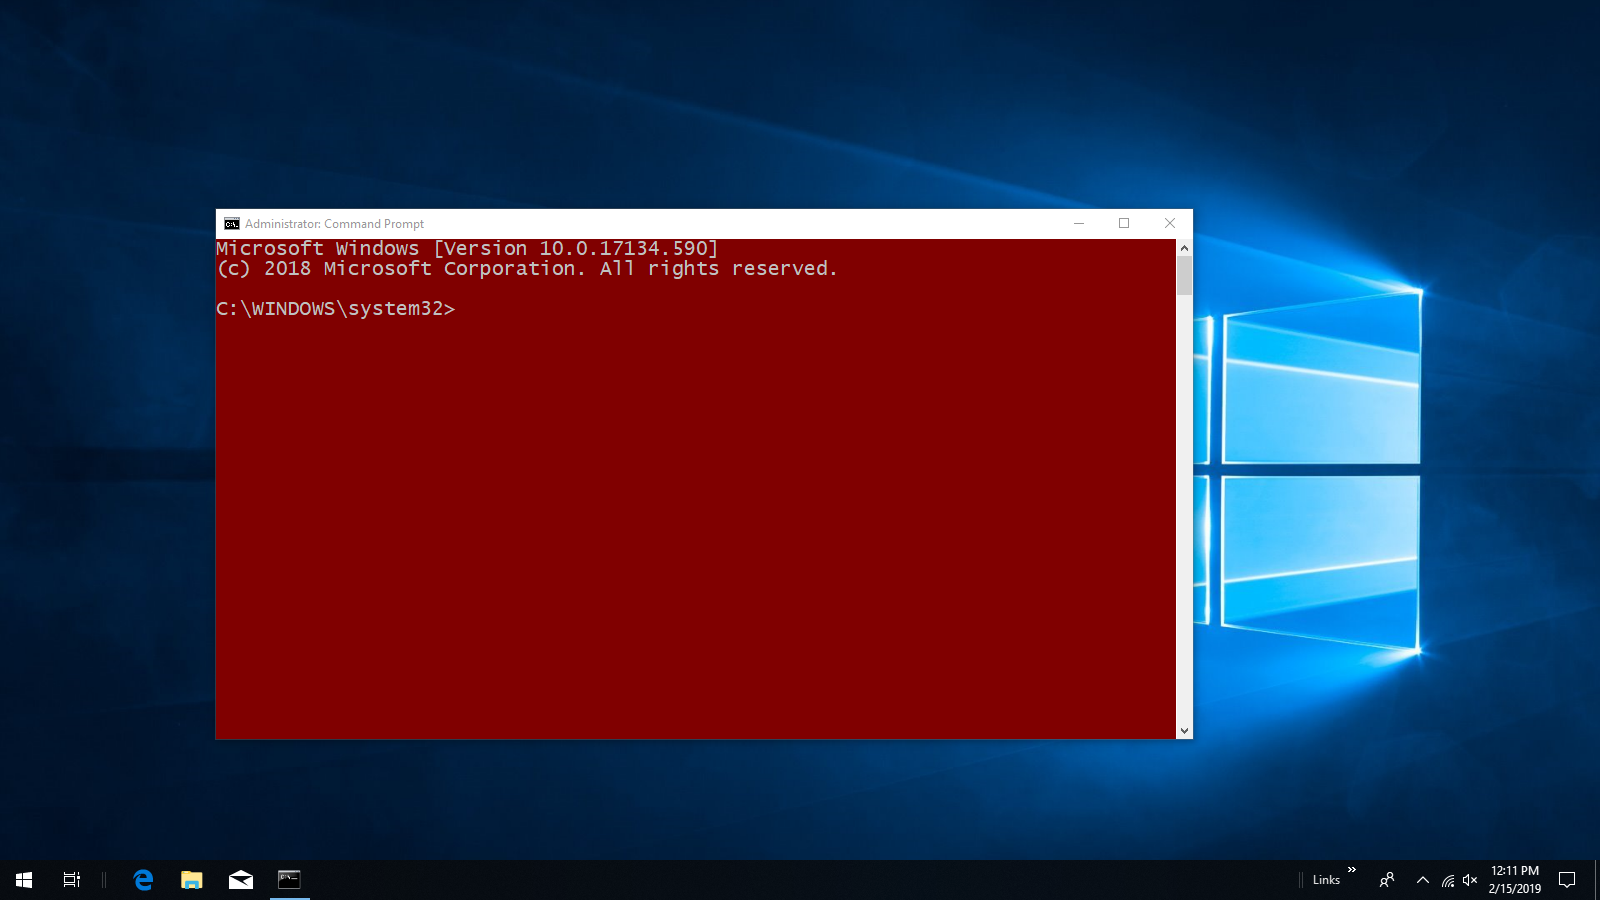
Below is an image of an open Windows 10 CLI with an elevated prompt: Please note the difference between the two, so as I proceed here you are working with an elevated prompt.
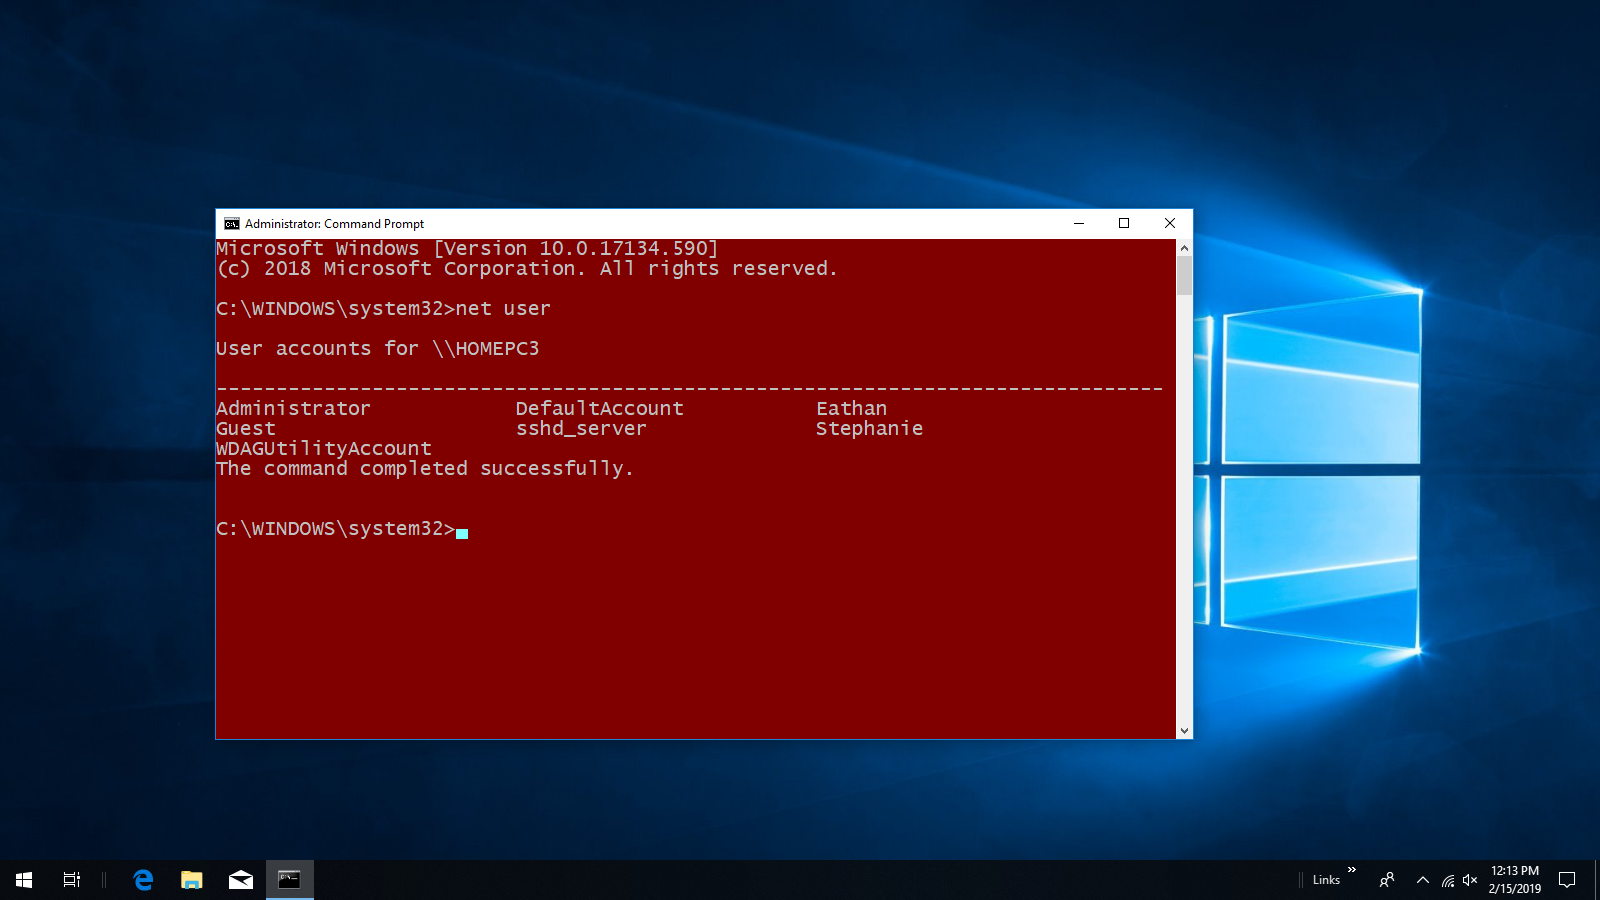
From the elevated prompt type in the command: net user The users on your Windows 10 system should be displayed like the example image below:
All Windows 10 systems come with a default passwordless Administrator account with elevated privileges generally included for the OEM system installers or licensed refurbisher’s use but disabled by default. This account has been shown to be vulnerable to users of RDP connected through a secure virtual server in brute force attacks by AI bots. If you leave your Windows 10 computer connected to the Internet for long periods of time, and intend to enable its RDP server over the Internet and forward ports at some point it’s best to just change the name of the default administrator account. First make the account active by entering the command: net user administrator \active:yes Next rename the account with the command: wmic useraccount where name=’administrator’ rename whatevernameyouwant It is best to pick an obscure or nonsense user name here, nothing connected to your business or personal identity. See the image below for the output and the commands in action:
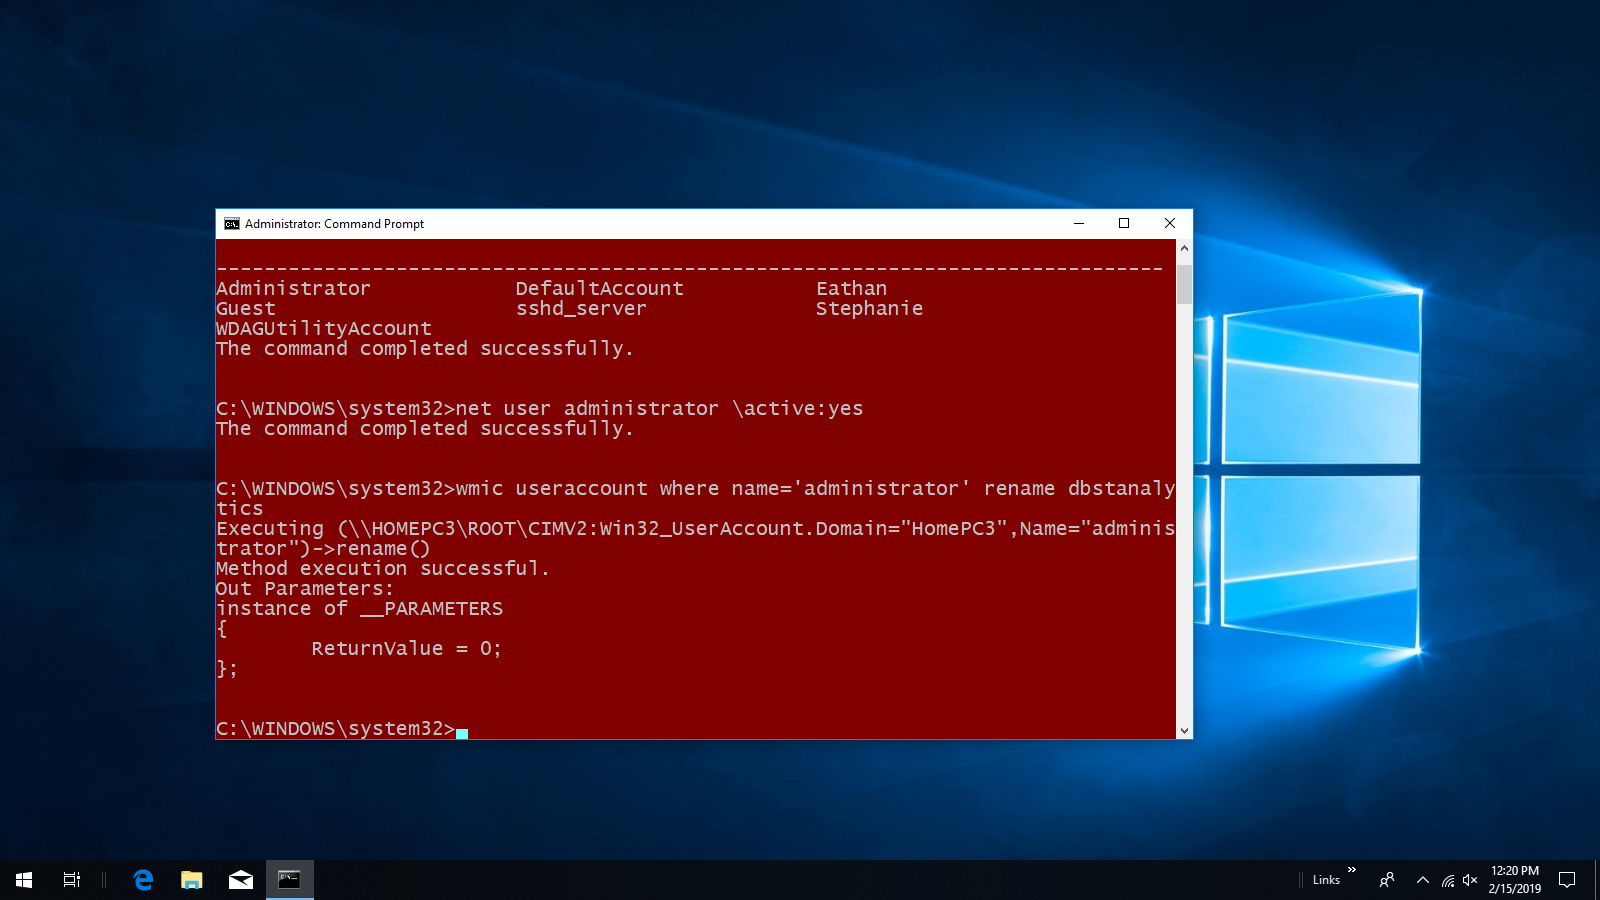
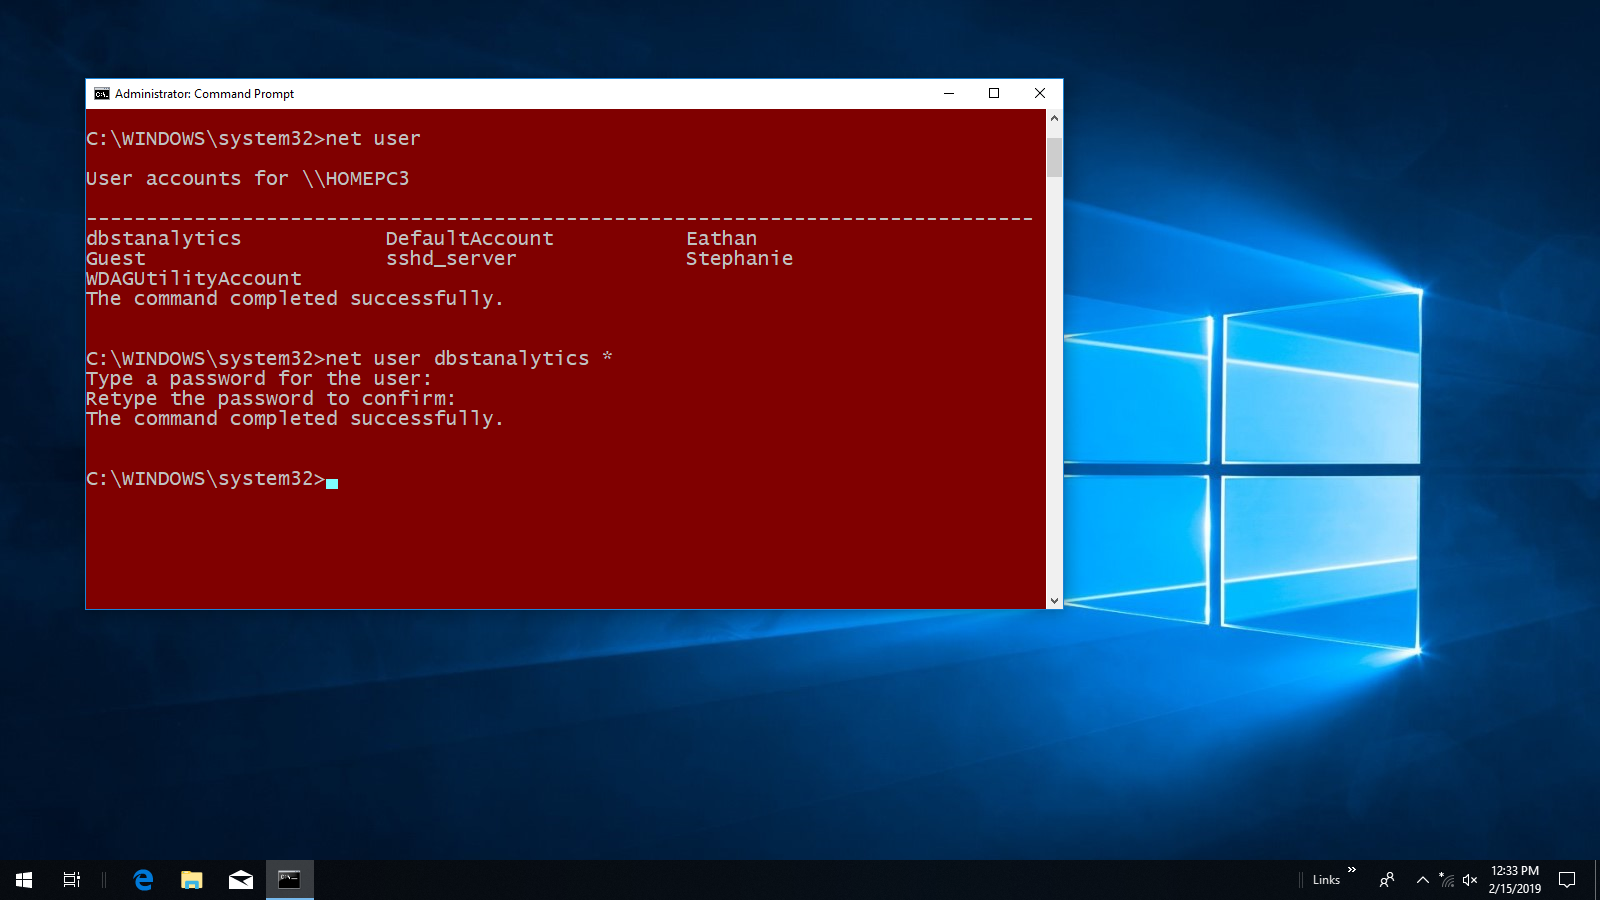
Next enter the command net user again and note that the administrator account has been renamed, in this case from administrator to dbstanalytics with my typo (I meant to type dbtsanalytics for this demonstration example) Next we want to give the account a password. Enter the command: net user nameofyouruser * in this example in the syntax as it shown: net user dbstanalytics * You will be prompted to enter a password, in which you should combine 8 to 16 upper and lower case letters, numbers and symbols and then hit Enter. Retype it to confirm it and hit Enter. See the image below:
*Note* Though you may not have to worry too much about this with Windows, stick to the 95 ASCII printable characters on your keyboard if you intend on logging into windows from Linux as some login passwords for a secure shell in Windows from Linux have been shown to cause misreads. See this link for those characters in English: http://facweb.cs.depaul.edu/sjost/it212/documents/ascii-pr.htm
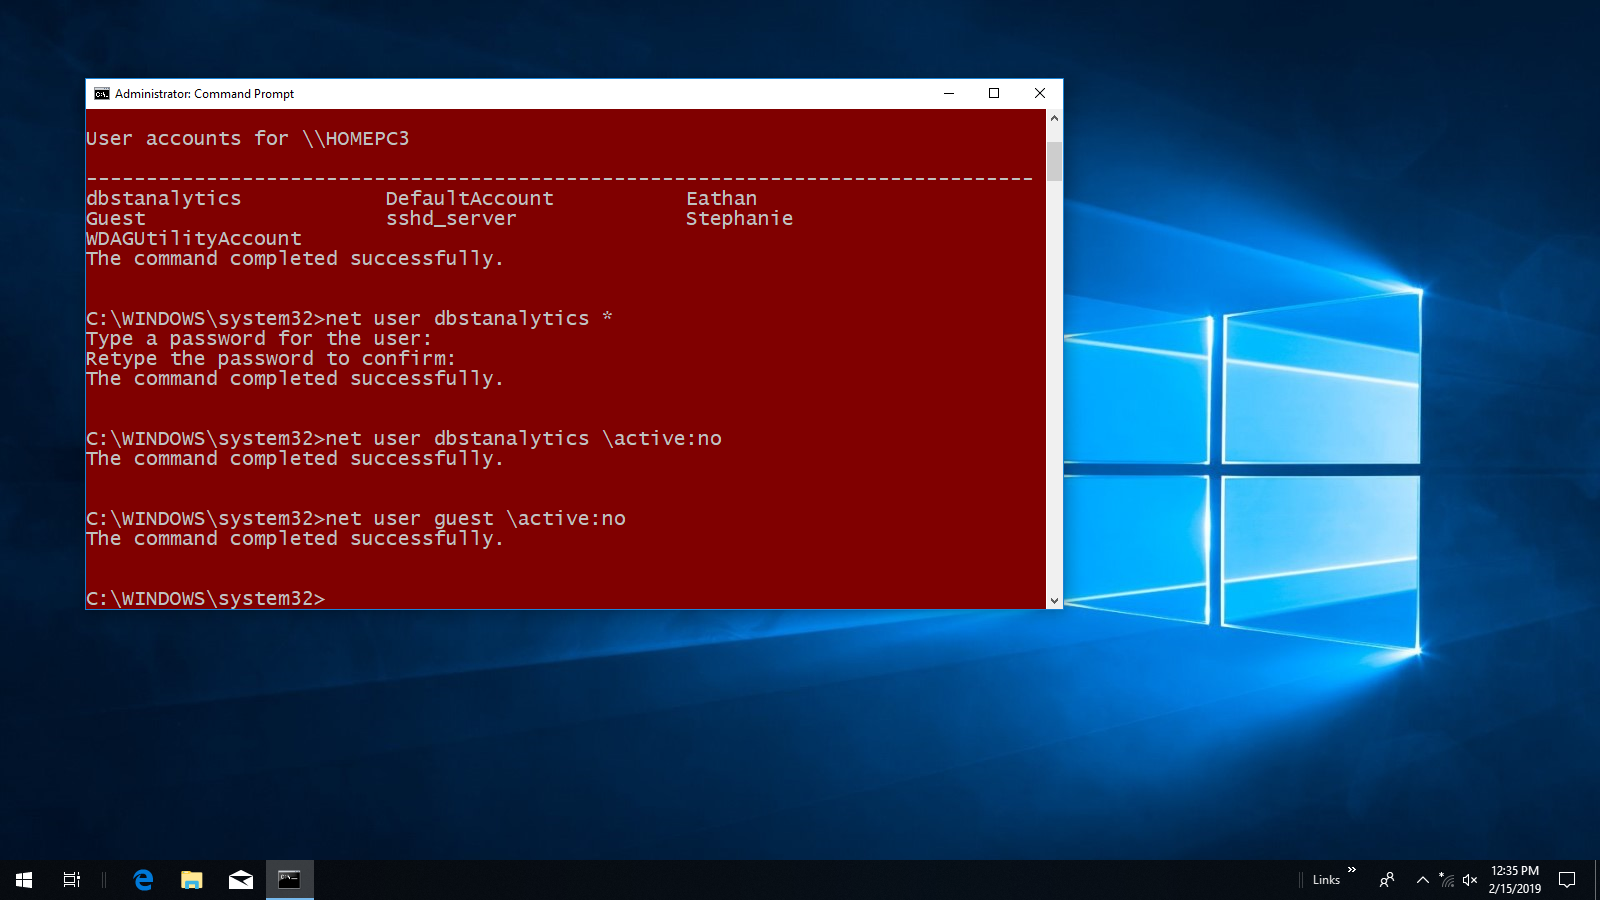
Now I want to deactivate it along with the default Guest account. Enter the command: net user whateverusernameyoupicked \active:no and hit Enter. Enter the command: net user guest \active:no See the image below:
If you intend to connect to RDP over the Internet requiring port forwarding on your router (not privately on your LAN through your router) at this point you should consider adding a specific user for that RDP connection even if you intend to use both types of connections. You can use your Linux Lite user if it is different than your normal administrator account on your Windows 10 machine. This adds an extra layer of security to Windows if you are logged into your Windows 10 machine with your normal administrator user account, because when a different RDP user requests to login from the Internet someone will have to grant permission for the login before it will be allowed. Obviously this can be be an inconvenience requiring a message or phone call to someone in your office or household to allow the login for you, but it offers the convenience when traveling of not having to secure your ports by specific IPv4 address restrictions, in the event that you are using various Wifi hotspots, or hotel/motel Wifi connections with your laptop. It is also worth noting that it is not a good idea to use your default user administrator account to log into your RDP server over the Internet because it is usually your Microsoft account which gives access to application installation, and applications like Office 365, One Drive, and syncing applications. You will also find that in most cases generated Microsoft pins will not pass RDP authentication. To create a separate specific RDP user you must first create a new administrator user account first. Keeping it simple, at an elevated prompt type the command: net user yournewrdpusername /add and hit Enter. After the command completes run: net user yournewrdpusername * and enter and verify your password for your new RDP user name. Then give the new RDP user name administrator privileges by running: net localgroup administrators yournewrdpusername /add See image example below:

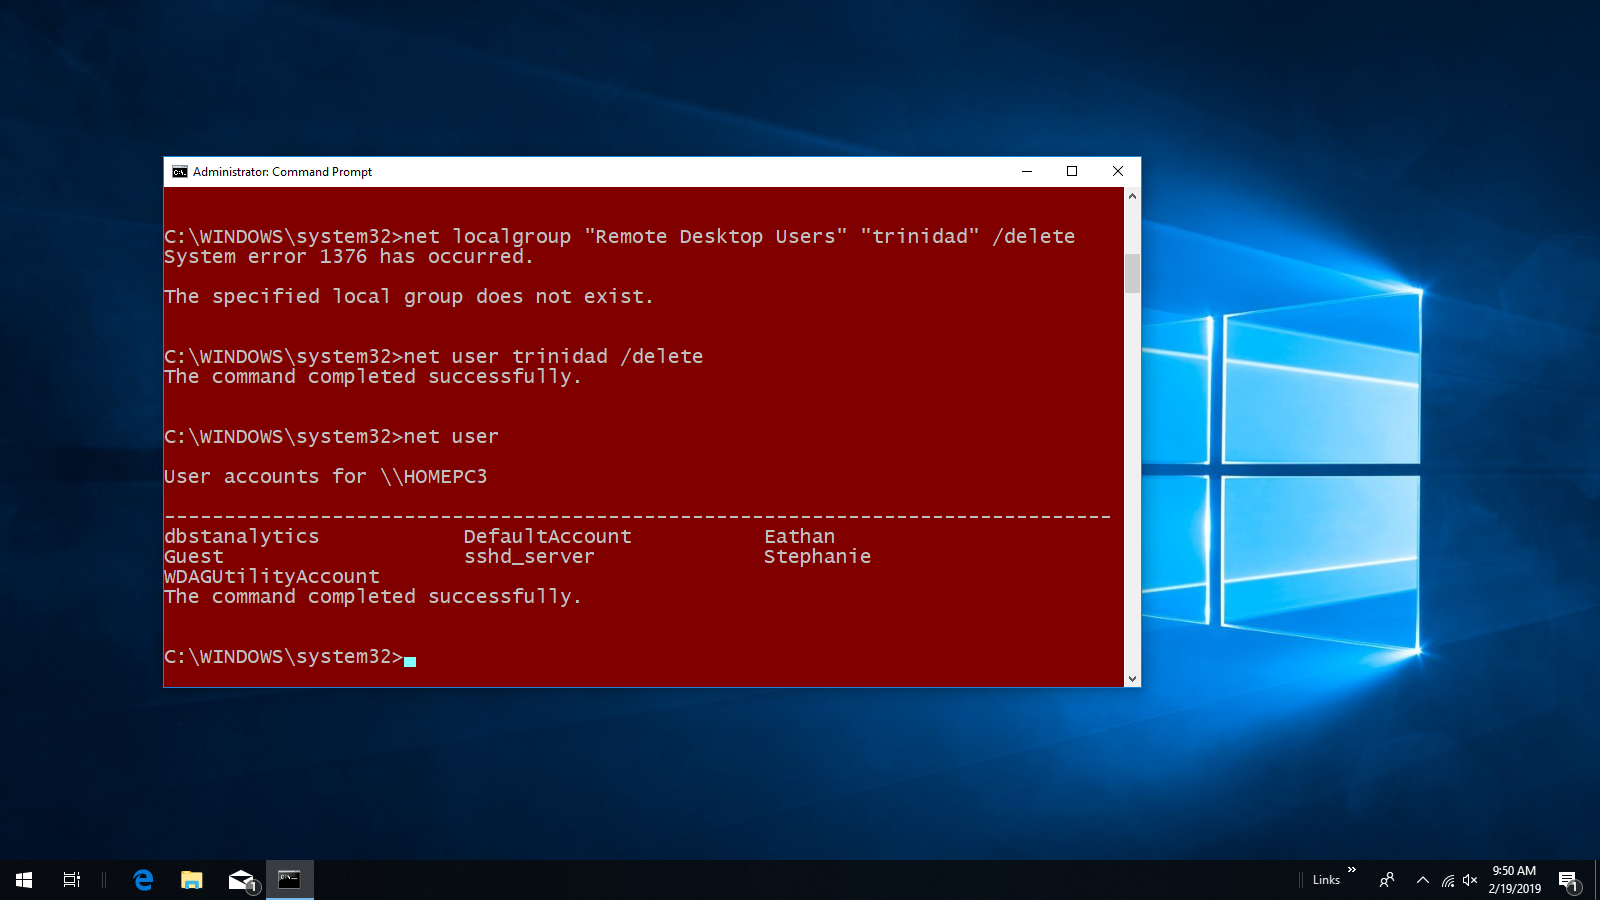
If you are in a situation where you have several administrator users on your computer you may want to limit RDP access to one or two users. To delete specific administrator users from RDP access run the the command: net localgroup “Remote Desktop Users” “username” /delete I don’t have RDP enabled on the example machine so the command fails. Done with the demonstration I delete trinidad as a user. See image below:
I have included all this for handy reference purposes as I go along here because different users will have different requirements, and knowing how to use the Windows CLI will make users management easier.