9) Enabling & Configuring RDP In Windows 10 & Connecting From Linux Lite 4.xx
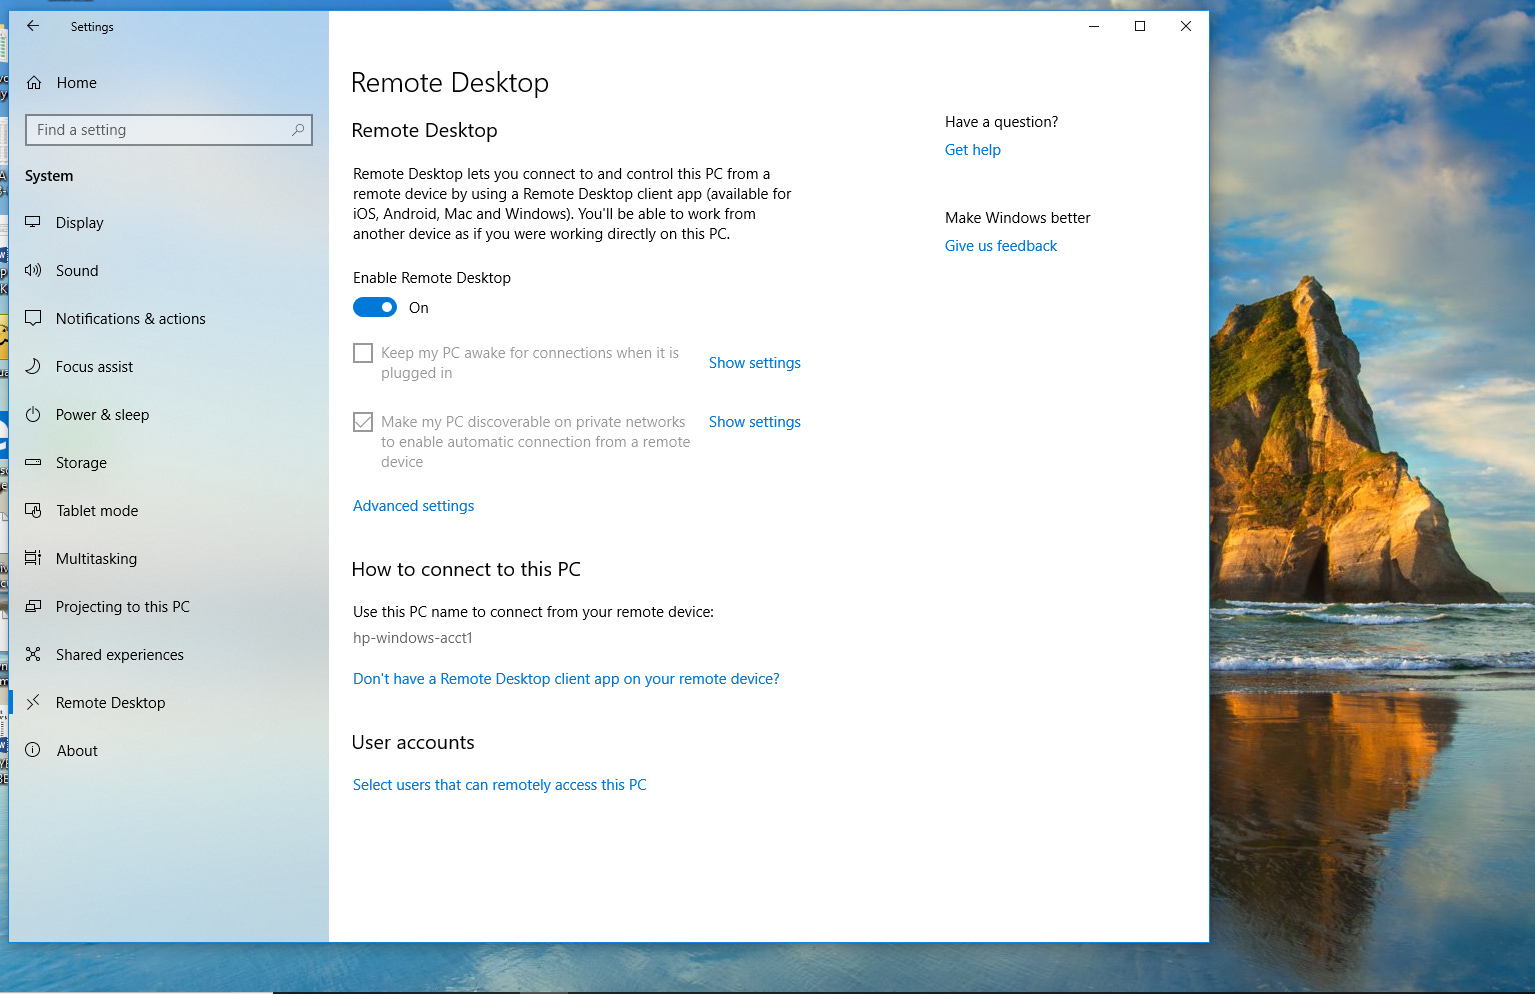
Installing Remote Desktop Protocol properly differs slightly between Windows 10 versions. (Professional, Enterprise & Server) A few of the Windows utilities are accessed in different ways so some Internet instructions can be confusing to new users. I’m going to discuss installing from Windows 10 Professional because it is probably the most likely version new Linux Lite 4.xx users would be coming from. Just click on >Settings >System >Remote Desktop and the screen below will appear. Enable Remote Desktop by moving the slider to On. You can see in the image below that the next two settings are grayed out. This particular machine uses RDP over the Internet so Network Level Authentication is unnecessary, but normally if you are connecting on your home network, and not over the Internet, you should check the second box. This will allow your RDP connection through your firewall. The first box sets whether or not you want your computer to go for hibernation after a certain amount of time. See image below:
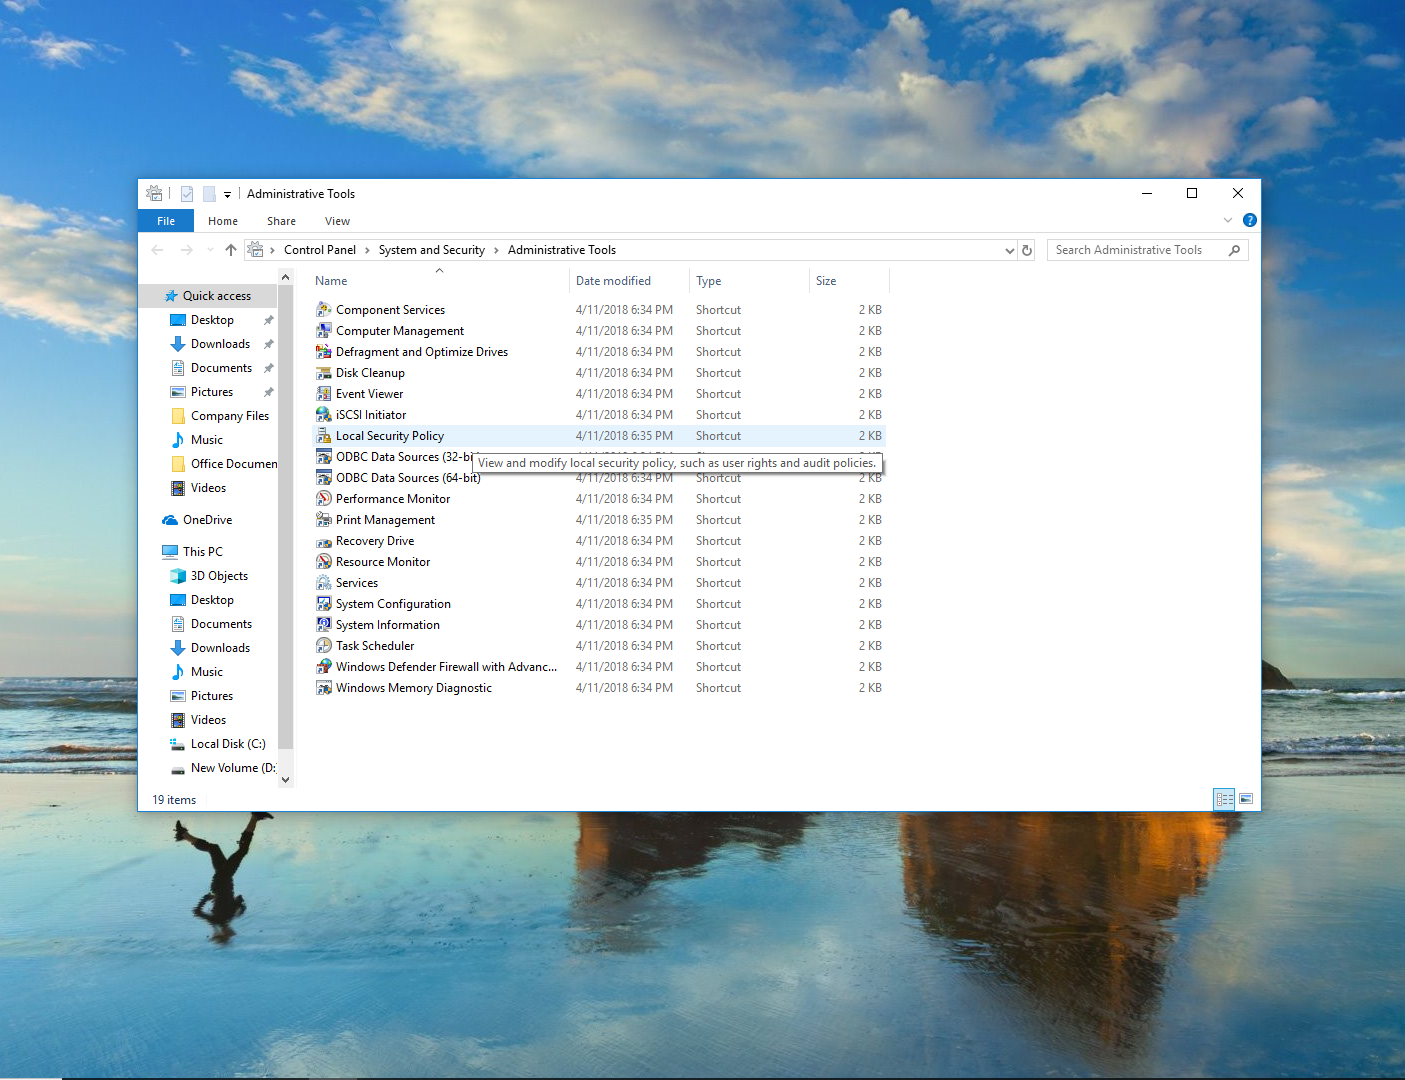
Most new users are probably going to connect on their home network first, but if you intend to connect over the Internet with RDP there are important simple security settings you should make on your Windows 10 machine. I’ve already discussed some of them: limiting connections by IPv4 addresses in your firewall; changing your RDP port number; creating a specific RDP user account and removing RDP access from other accounts; and configuring Event Viewer to audit failed logon attempts. If you intend to connect over the Internet it is important to limit the number of failed logon attempts that will temporarily close the RDP port for a predetermined amount of time. It’s a little weird to actually get to this particular Microsoft console application on Windows 10 Professional though it’s straightforward on Server or Enterprise. Hit your Windows key and type Administrative Tools. Look for the search bar selection that reads Administrative Tools Control Panel. Click on it and the Window below should open:
Click on Local Security Policy in the right hand pane and the Local Security Policy window below should open:
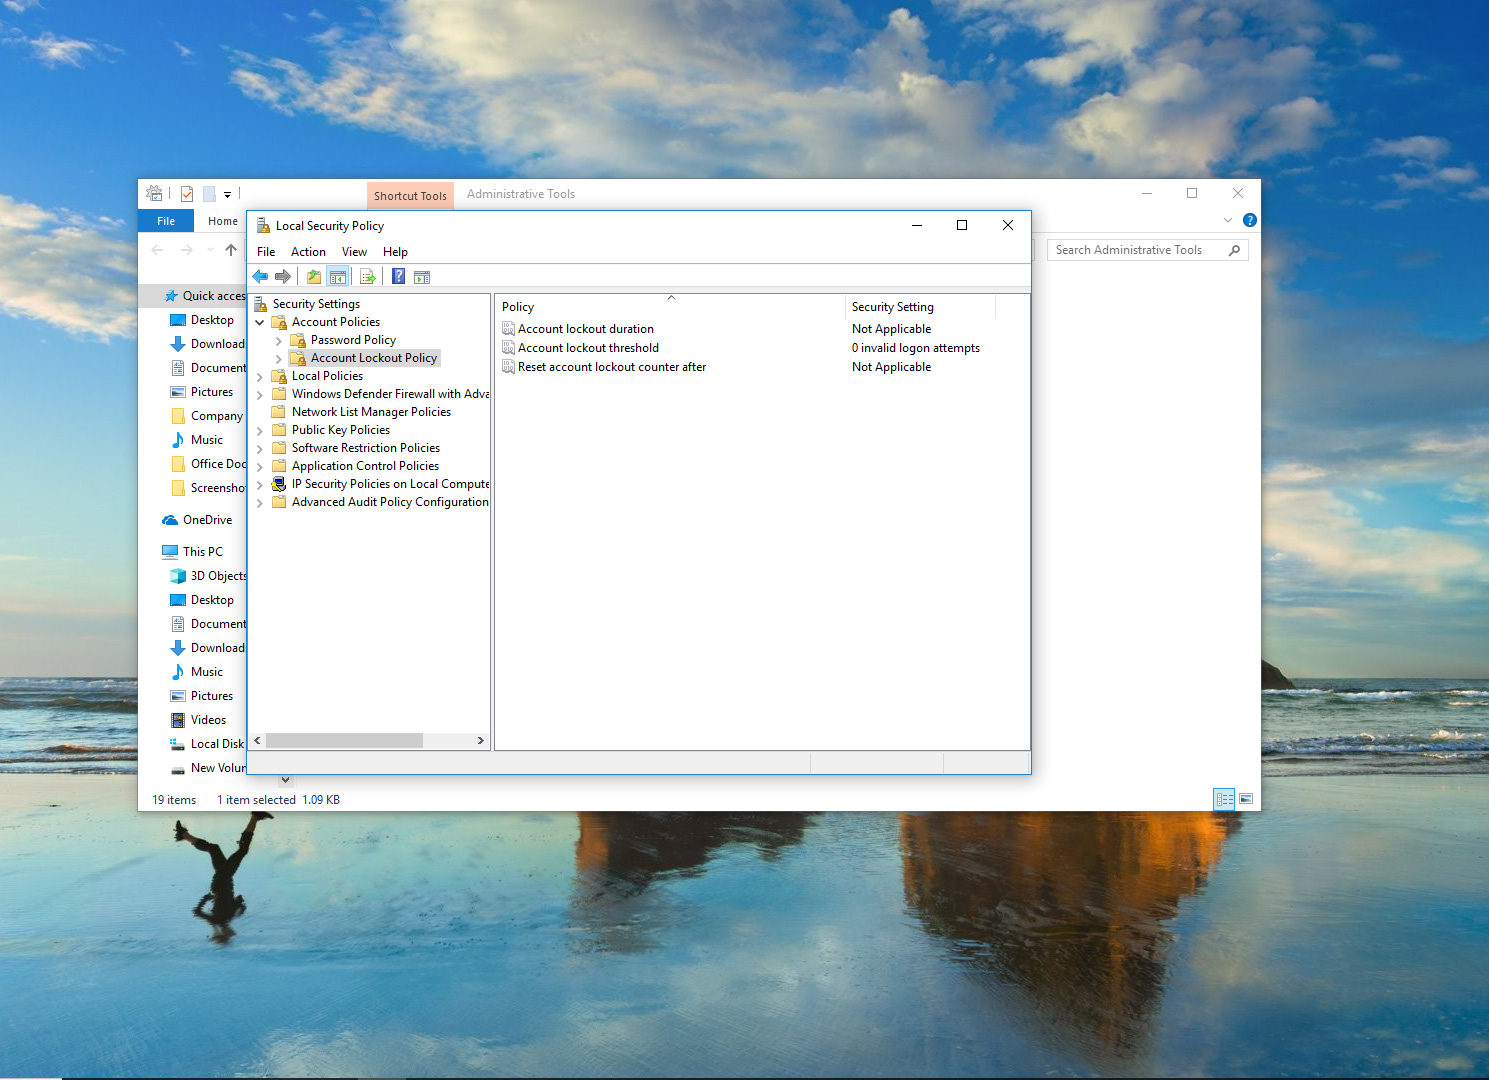
Expand the file tree as shown in the image above. This particular machine is using a separate proprietary Internet security suite, but new users without such measures in place should set the three settings in the right pane appropriately. I would use 3 failed logon attempts, and 15 minute timeouts, and I would check Event Viewer daily with heavy usage and no less than weekly otherwise.
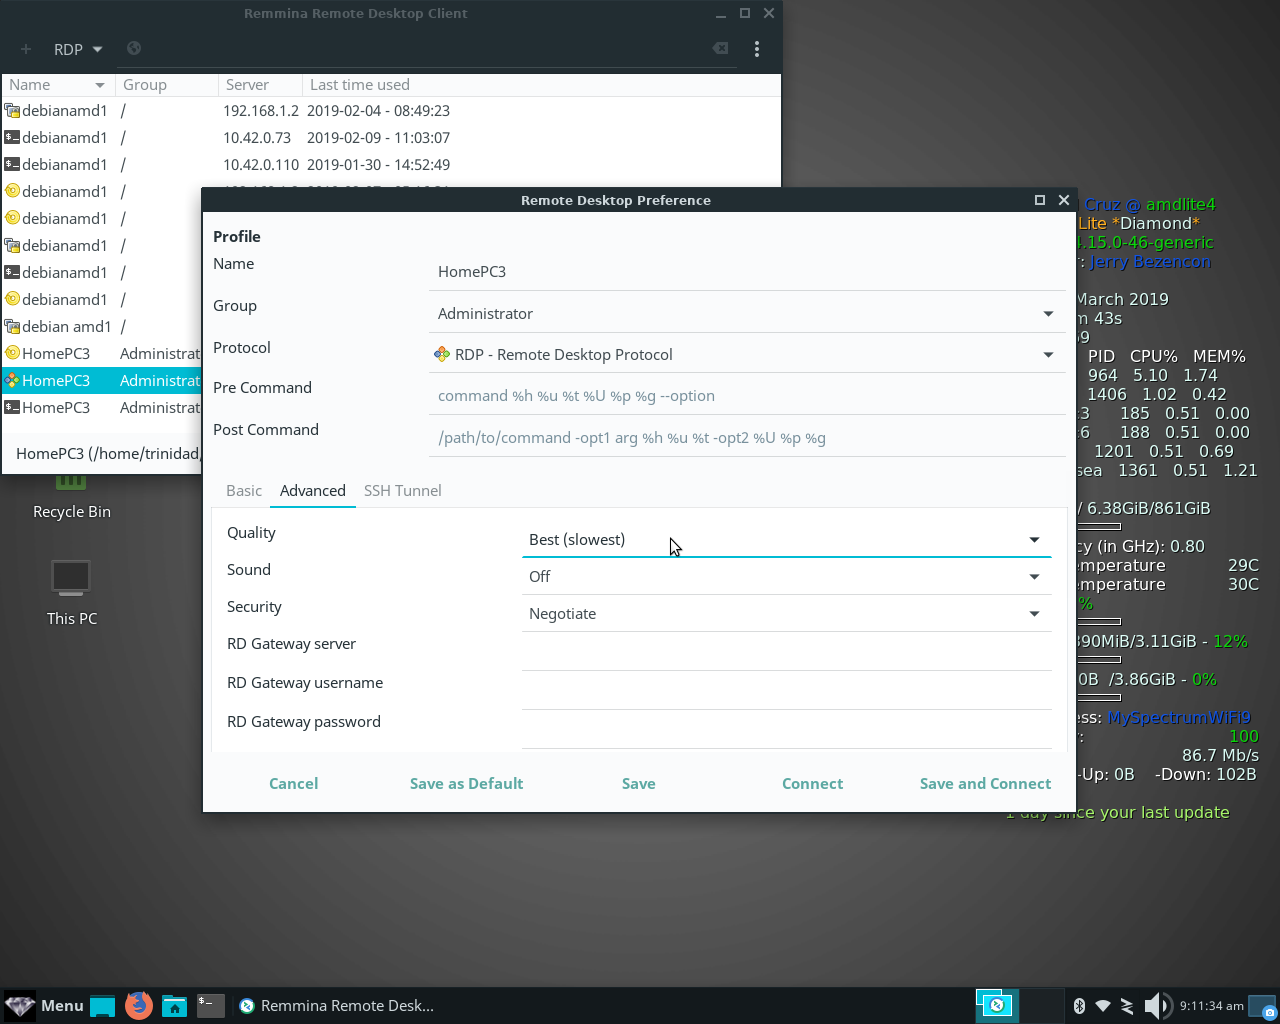
I’ve already covered installing Remmina in Linux Lite 4.xx. I’m going to use Remmina here to connect to Windows 10 using the MS Remote Desktop Protocol. Open Remmina in Linux Lite and click on the + add a connection button in the upper left hand corner and add your Windows 10 RDP connection. See image below:
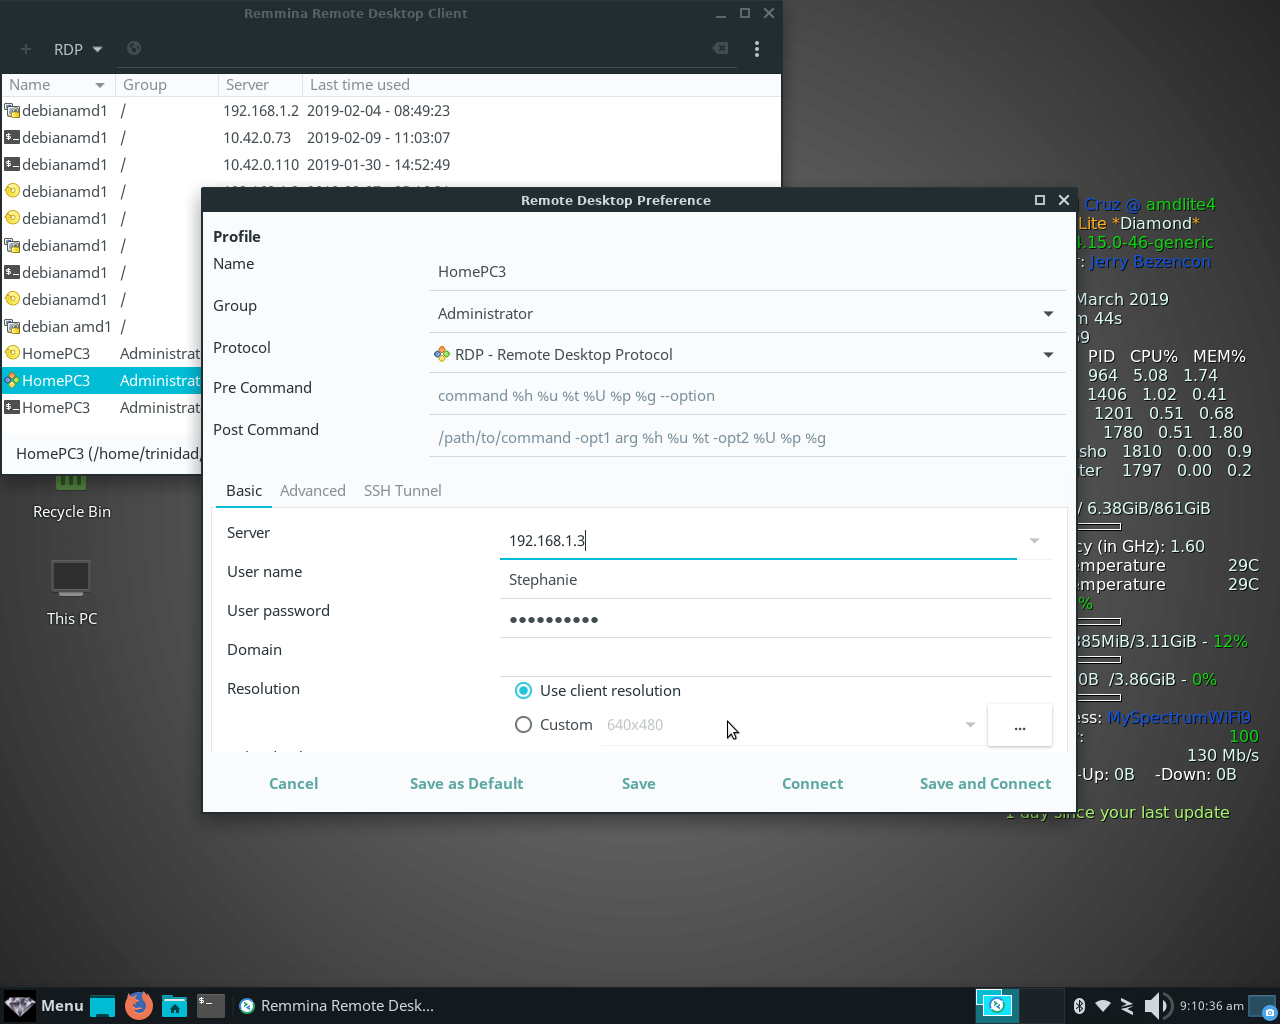
Like the image above for Name use the netbios name of your Windows 10 computer. For Group you can use Administrator. For Protocol select RDP – Remote Desktop Protocol. For Server add the IPv4 address of your Windows 10 computer. If you have changed your RDP port number add the address i/e 192.168.1.3:5565 adding a colon and your new port number. For User name use your Windows 10 administrator account name and password for User password. Click Use client resolution. You can adjust the screen from Remmina after it loads if necessary. Click on the Advanced tab next, and select Best (slowest) for Quality. Turn Sound on or off. For Security select negotiate. See image below:
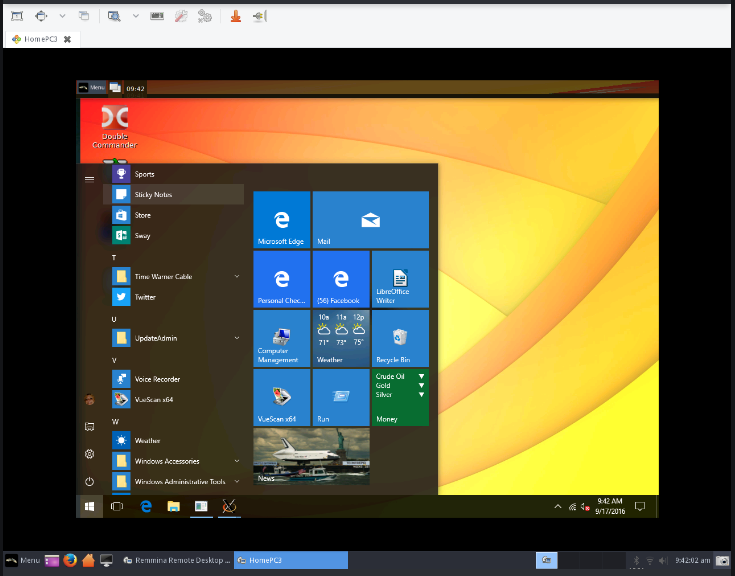
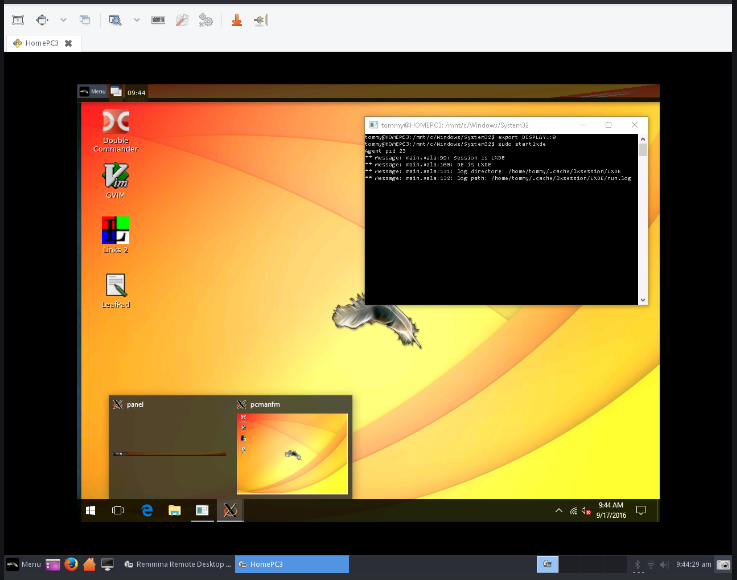
Below just for fun are a couple of images of a Windows 10 RDP desktop running in Remmina on Linux Lite 3.xx series. Check all the toolbars to get what’s going on here. The Linux Lite 3.xx background is actually a modified LXDE Ubuntu desktop Linux Lite look alike running on an Xming server in the Linux sub-system on Windows 10, all running in Remmina on a Linux Lite 3.4 desktop. Connect your Windows 10 computer with RDP using Remmina on your Linux Lite 4.xx system and see what you can do. It’s even better now.
Return To Section 8 Installing Open SSH/SFTP Server in Windows 10 & connecting from Linux Lite 4.xx
Return To Section 7 Setting up connection Bookmarks for Samba & SFTP in Thunar on Linux Lite 4.xx
Return To Section 6 Configuring Samba in Linux Lite 4.x & connecting to Window 10
Return To Section 5 Configuring AllowUser(s) using sshd_config in Windows 10
Return To Section 4 Configuring Windows 10 Firewall to limit port connections by IPv4 addresses
Return To Section 3 Using netstat & ipconfig in Windows 10 to monitor connections
Return To Section 2 Using Group Policy Editor to configure Windows 10 Event Viewer to audit failed logon attempts
Return To Section 1 Using the Windows 10 CLI to configure users, passwords, and privileges
*This tutorial prepared on Debian 9 using LibreOffice Writer Web expressly for Linux Lite users. Linux Lite Diamond 4.xx and Windows 10 connections and images are for demonstration purposes.*